

Deploying a Lab
Every scenario in Rogue Arena is a templatized Architect build: a real network topology that someone designed on the canvas, built into live infrastructure, and saved as a reusable template. Architects create scenarios and share them with teammates or the wider community. When you deploy a scenario, you start your own live instance of that build.
Deploying a Lab
Section titled “Deploying a Lab”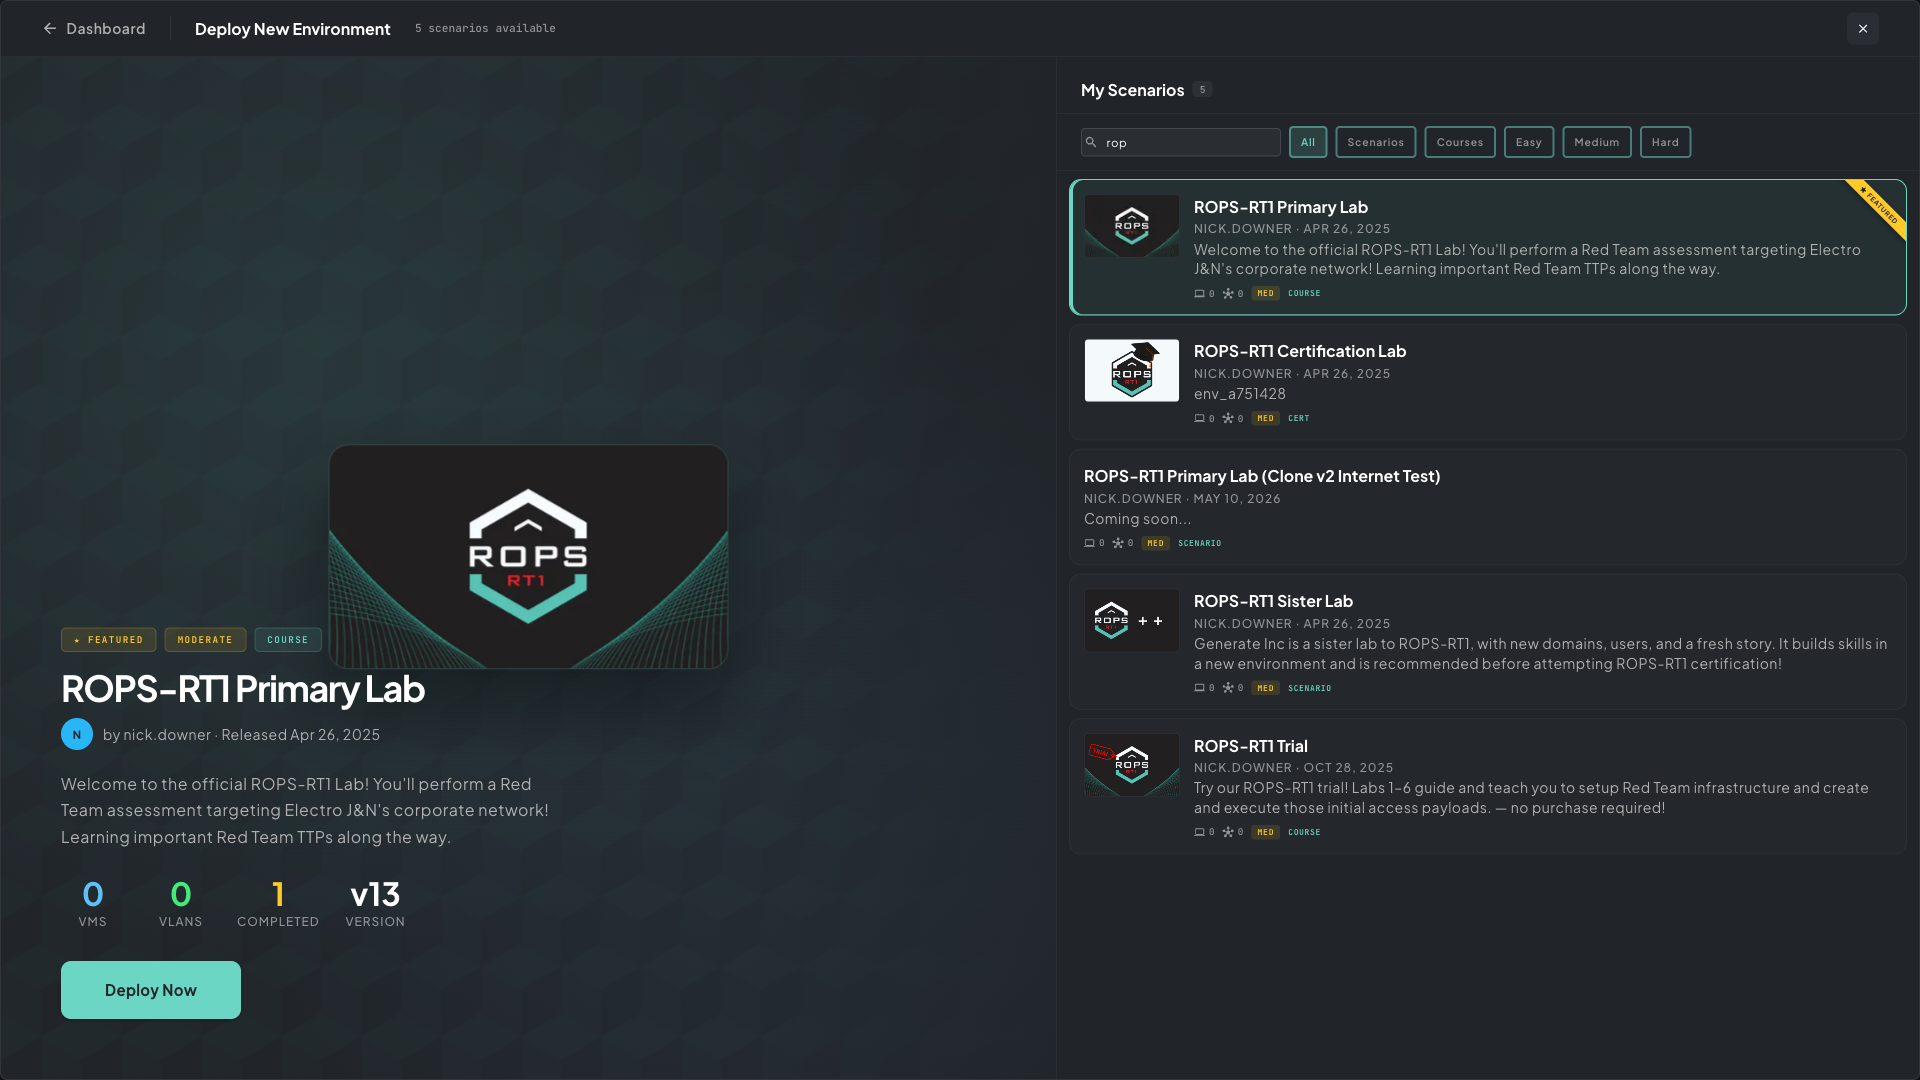 The Deploy New Environment screen. Pick a scenario from the list on the right, choose a version, and click Deploy Now.
Click Deploy on the arena home, or go to the Scenarios page and pick your scenario. Deploy New Environment opens. Pick a scenario and click Deploy Now, then work through three steps:
- Overview: choose a version. Scenario authors publish new versions with changelogs over time. Pick the one you want to run.
- Pre-Check: on a scenario you’ve done before, choose RESET Progress to lock every task again for a clean run, or CONTINUE Progress to keep what you’ve unlocked. If your deployment slots are full, you choose what to remove here (see Deployment Slots and Funding). When there’s nothing to decide, Pre-Check tells you all checks passed.
- Final Confirmation: review the summary and the VM access check, then click Deploy Now.
The build starts right away. A deployment typically takes 5–10 minutes, depending on the number of machines. The platform starts VMs in tiers, so domain controllers and infrastructure come up before the machines that depend on them.
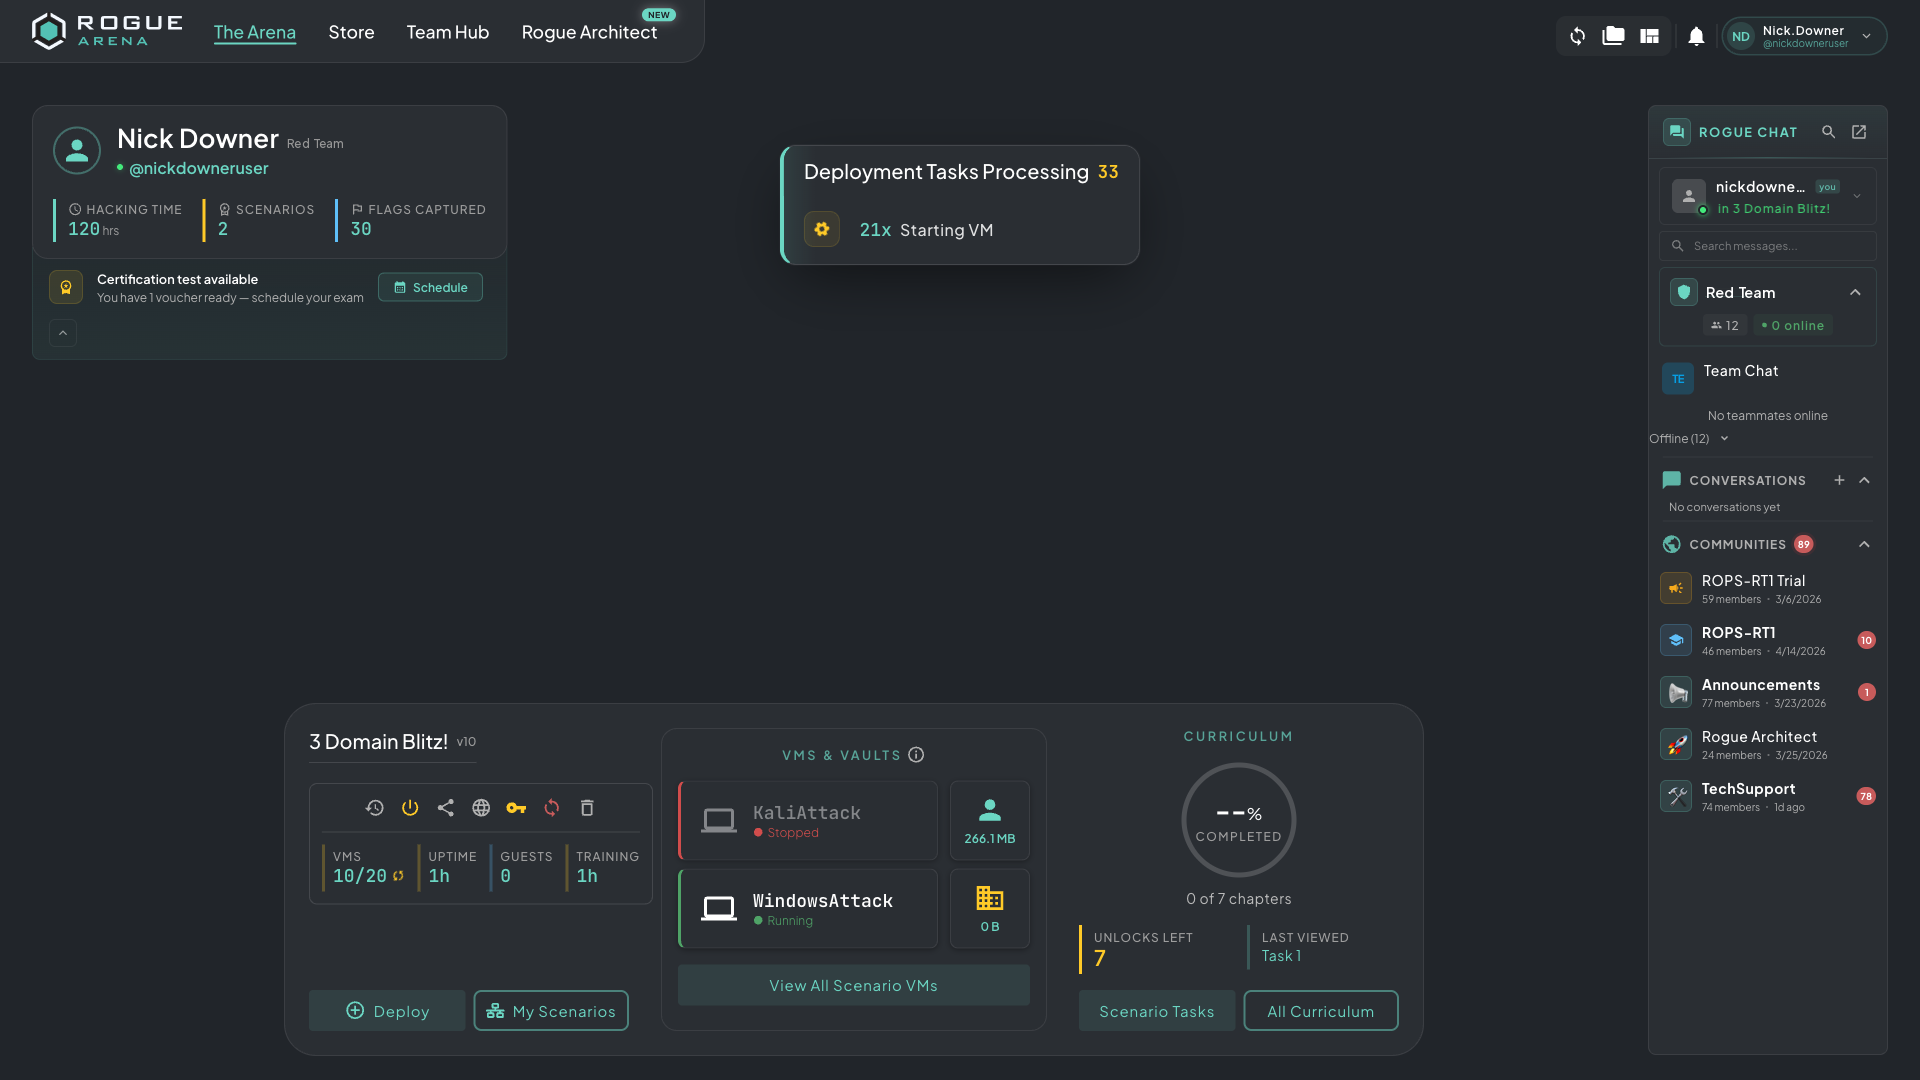 Arena home during a build. VMs come up in tiers, and domain controllers and infrastructure start before dependent machines.
Deployment Slots and Funding
Section titled “Deployment Slots and Funding”Before a new lab starts, the platform checks two things: that you have a free deployment slot, and that something will pay for the VM time.
Each deployment takes one slot. An individual account has 1 slot by default, and a team shares a pool of slots across its members. A deployment keeps its slot until it’s deleted, including while it’s turned off.
When your slots are full, Pre-Check shows Deployment slots full (on a team, Team deployment slots are full) and tells you how many to free, for example “You are using 1 of 1 deployment slot. Choose 1 to remove.”
- Click Choose deployments to remove to open Make room. It lists the deployments holding slots, with each one’s owner, status, and start date.
- Tick as many as it asks for.
- Click Remove 1 and continue. The number matches how many slots you need to free.
The deployments you picked are removed when your new lab starts. Until then nothing is deleted, and you can click Change selection to pick again. Removing an Architect build cancels that build.
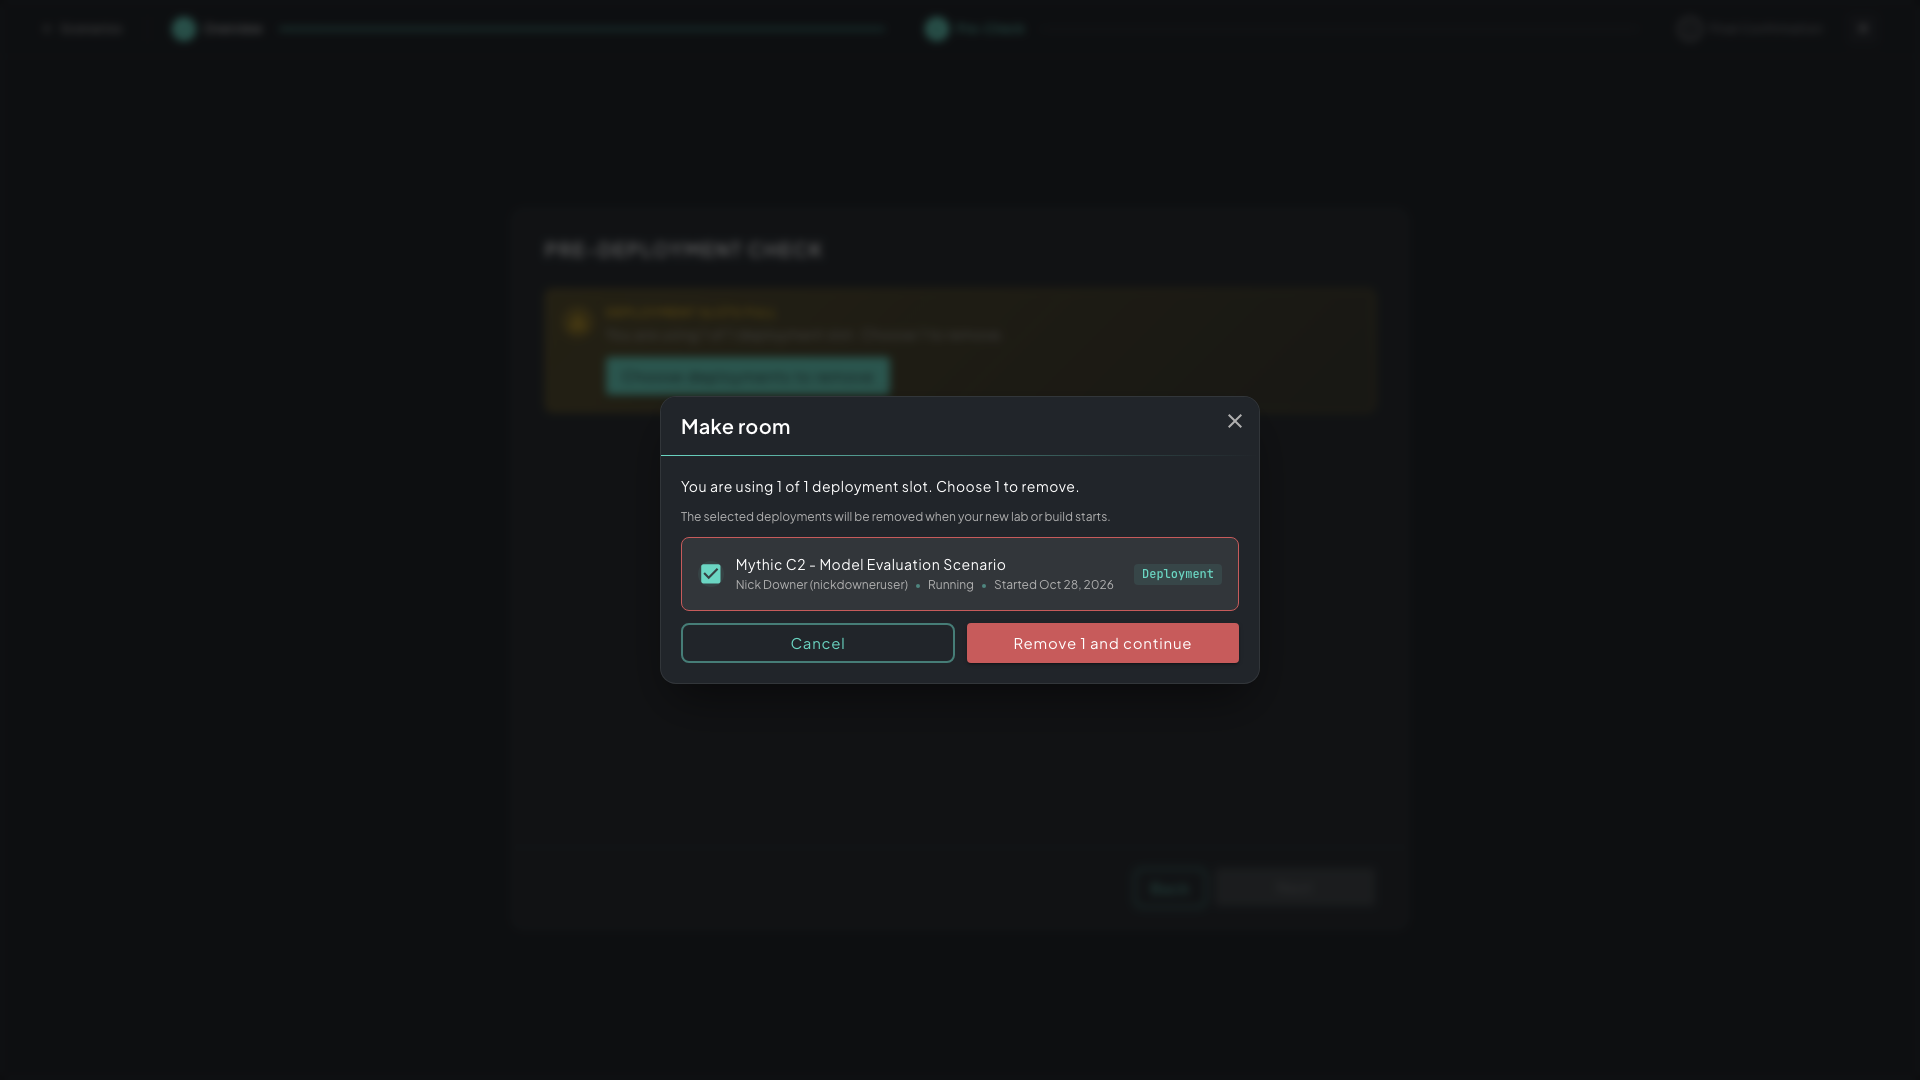 Make room lists the deployments holding your slots. The ones you tick are removed when the new lab starts.
On a team, you can only remove your own deployments. A Lab Admin can remove any teammate’s deployment to free a slot. If none of the deployments holding your team’s slots are yours, Pre-Check says the team’s slots are full and lists your team’s Lab Admins to ask. A deployment running a model eval keeps its slot until the eval ends.
Funding
Section titled “Funding”Final Confirmation checks VM access before you deploy. The card at the top says Ready to start when the lab can run. Otherwise it says what’s in the way, such as Action required or Out of VM hours, and what to do about it.
The card also names the source that pays for this lab, for example Funded by your lab plan, Funded by your VM hours, Funded by your 24/7 lab access, or Funded by your team. Event, course, and certification labs name their own source. See VM Hours and Plans for where VM hours come from.
Deploy Now stays disabled until the check passes. If you’re out of VM hours, the card links to the Store.
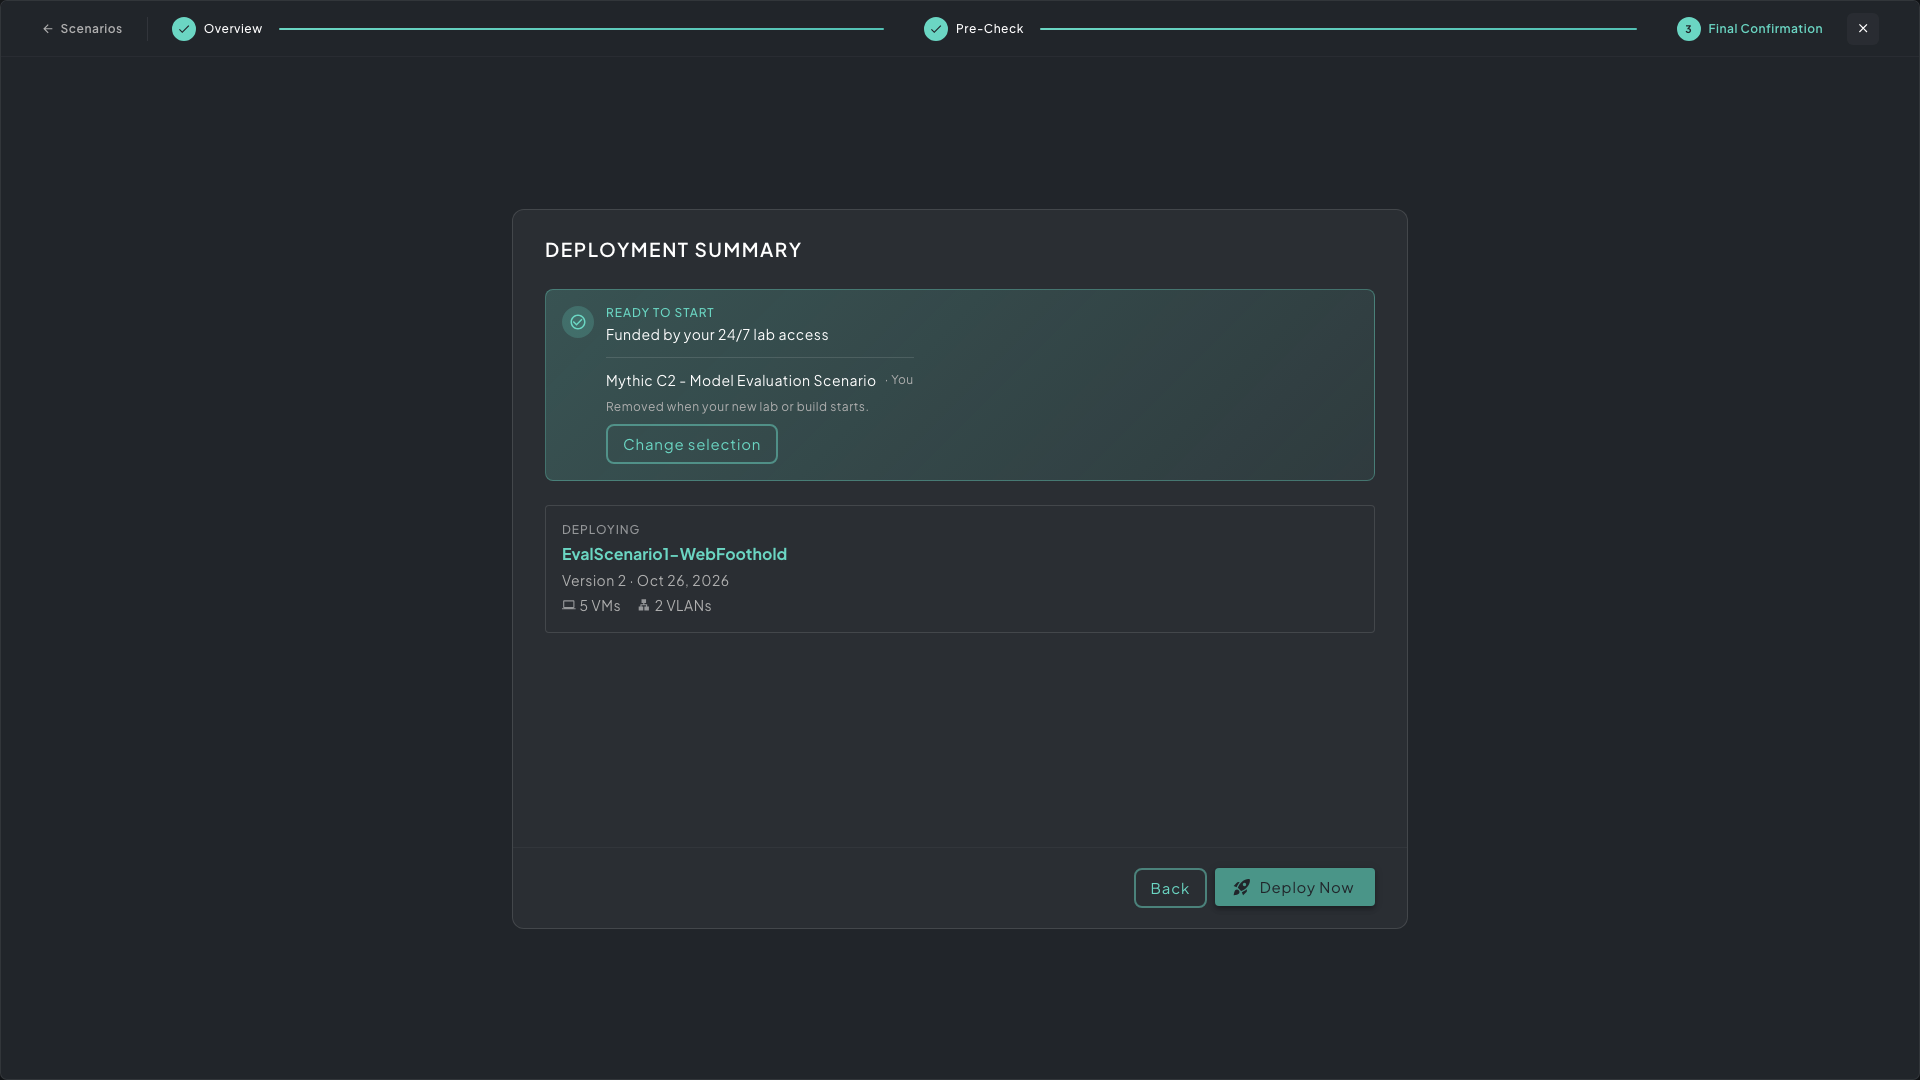 Final Confirmation. The top card says whether the lab can start, which source pays for it, and which deployment it replaces.
To check before you start a deploy, click My Scenarios on the lab card and hover the My Scenarios heading in the Scenario Manager. It shows which source would pay for a new lab, how many slots are in use, your VM hours, and a How this was decided link that lists each funding source and whether it applies.
No VM Hours Available
Section titled “No VM Hours Available”If you have no VM hours and nothing deployed, the dashboard opens No VM hours available. You can still build scenarios in Architect and read curriculum without VM hours, and the dialog links to both, along with Lab Subscriptions in the Store. Click Dismiss for 24 hours to close it. A No VM hours available banner with Explore options takes its place, so you can reopen the choices.
On a team, the dashboard tells you instead when your team has no deployment slots free.
Concurrent Deployments
Section titled “Concurrent Deployments”With more than one slot, you can switch between deployments in the Scenario Manager without tearing anything down or waiting, and pick up where you left off.
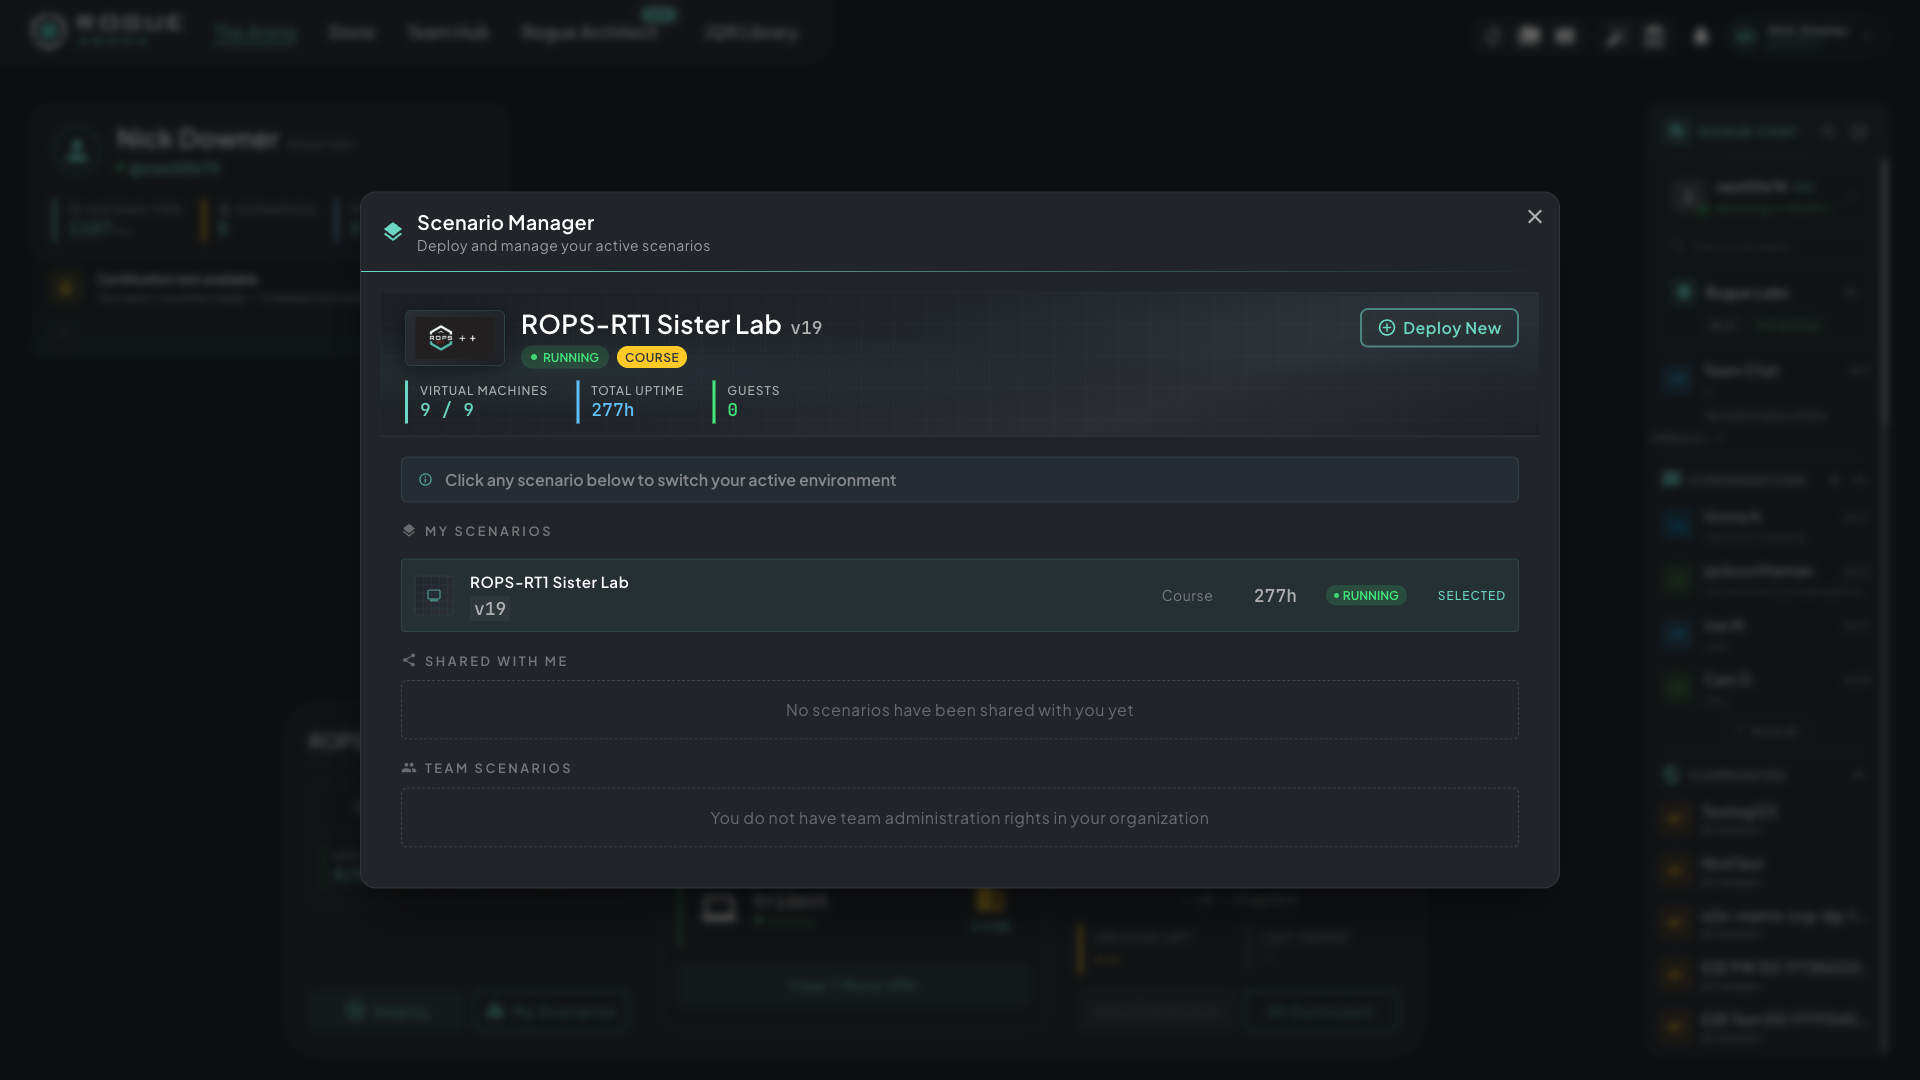 The Scenario Manager. Switch between active deployments without tearing any down. Each environment keeps its own state.
Each deployment is fully independent, with its own networks, machines, and state.
After Deployment
Section titled “After Deployment”When the status shows Running, your machines are ready. Go to Operating a VM to get into the environment.