

Updating Metadata
Seven buttons across the top of the plugin editor each open a panel for a different part of the plugin’s metadata. Most plugins need at least Templates and Parameters. The others depend on the plugin.
Templates
Section titled “Templates”Click Templates to choose which OS templates the plugin is compatible with. Narrow the list to the templates your plugin targets. A Windows-only plugin shouldn’t appear as an option on Ubuntu boxes.
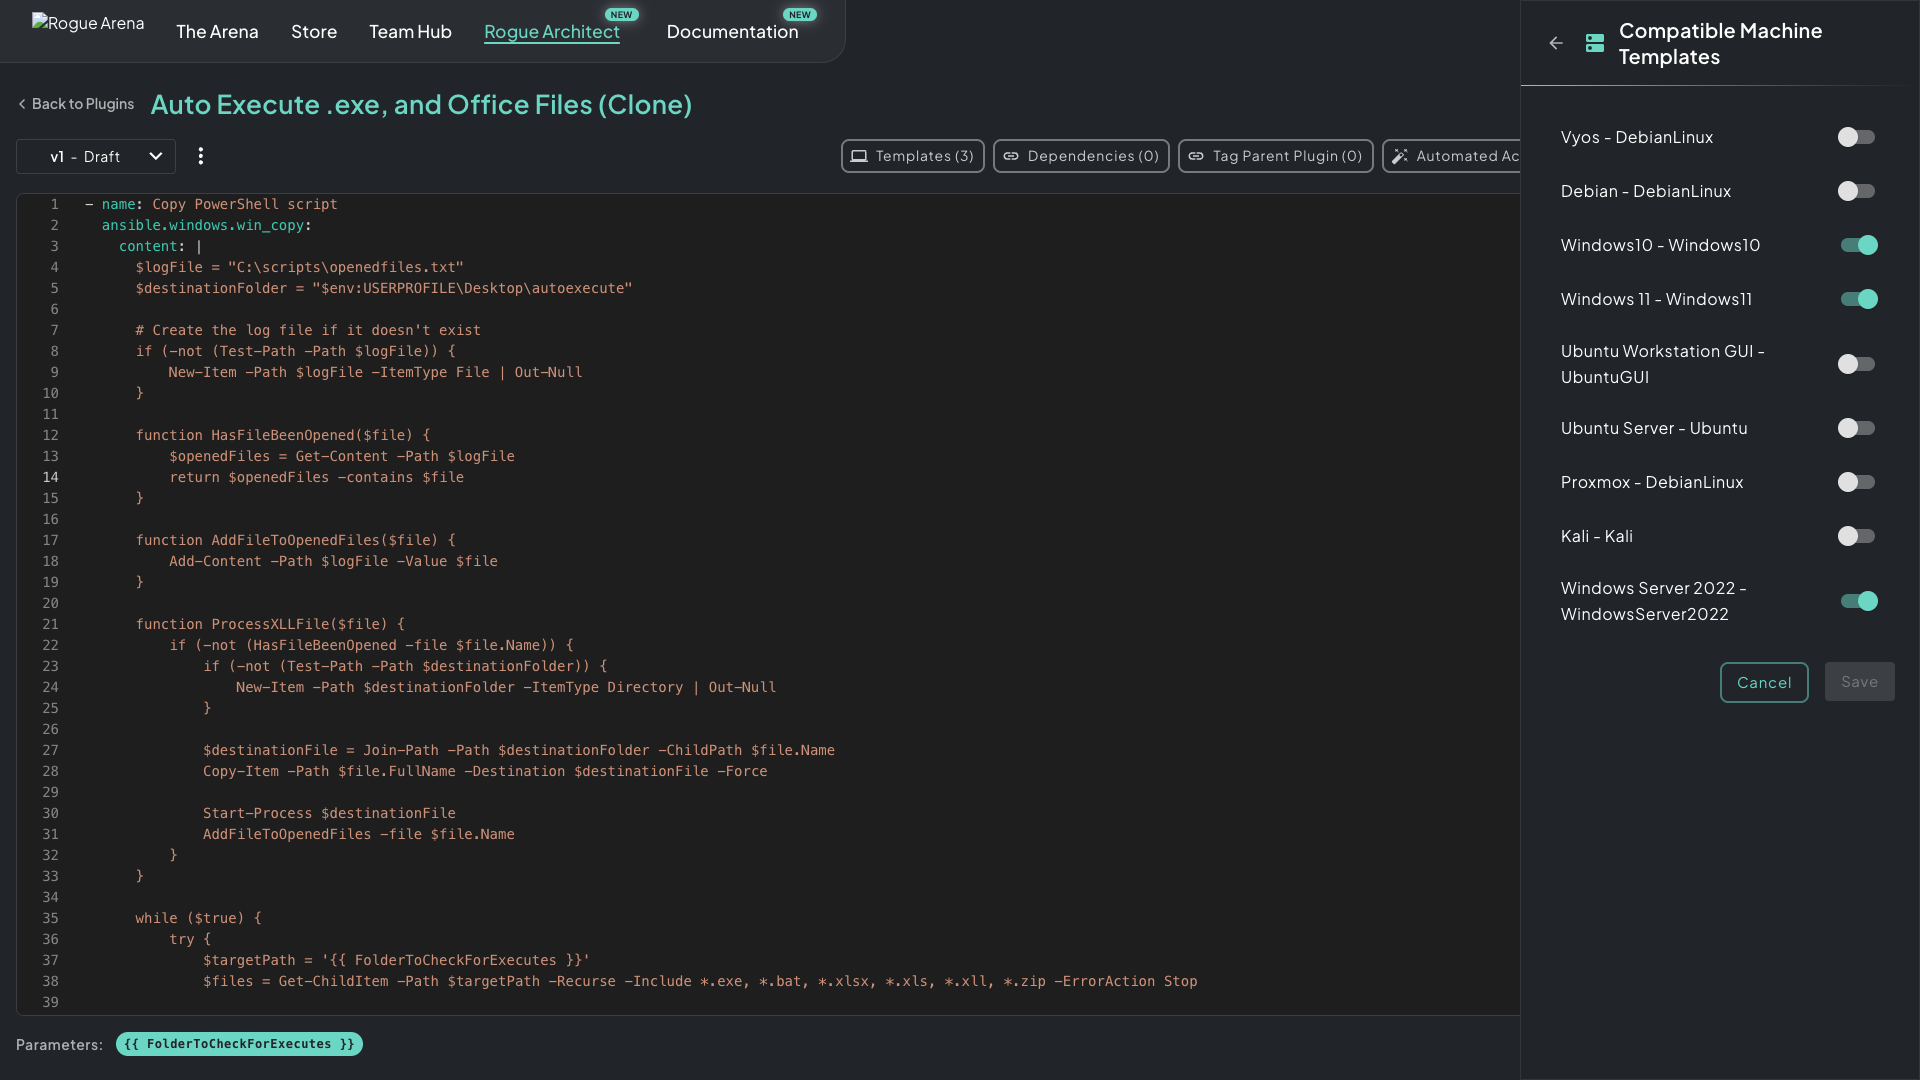 The Compatible Machine Templates panel. Turn on every OS where the plugin should be available, and leave the rest off.
By default, every OS is turned on, which is intentionally permissive. Narrow the list before you publish, or scenario builders will see your Windows plugin offered on a Kali box.
Dependencies
Section titled “Dependencies”Click Dependencies to open the Plugin Dependencies panel and choose other plugins this one needs on the same machine. Search for a plugin, click it to add it, then click Save. When someone adds your plugin to a machine, its dependencies are added with it. Map each dependency into your YAML by writing its name in curly braces and angle brackets, such as {<foxitPDF>}, so its tasks run at that spot; until you do, a red ! button on the editor lists it under Unmapped Dependencies.
Tag Parent Plugin
Section titled “Tag Parent Plugin”Click Tag Parent Plugin to mark this plugin as a child of another plugin. This is usually a client/server pair on two different machines, such as Elastic Agent → Elastic Stack Server, AD Member → Domain Controller, or Wireguard Client → Wireguard Server.
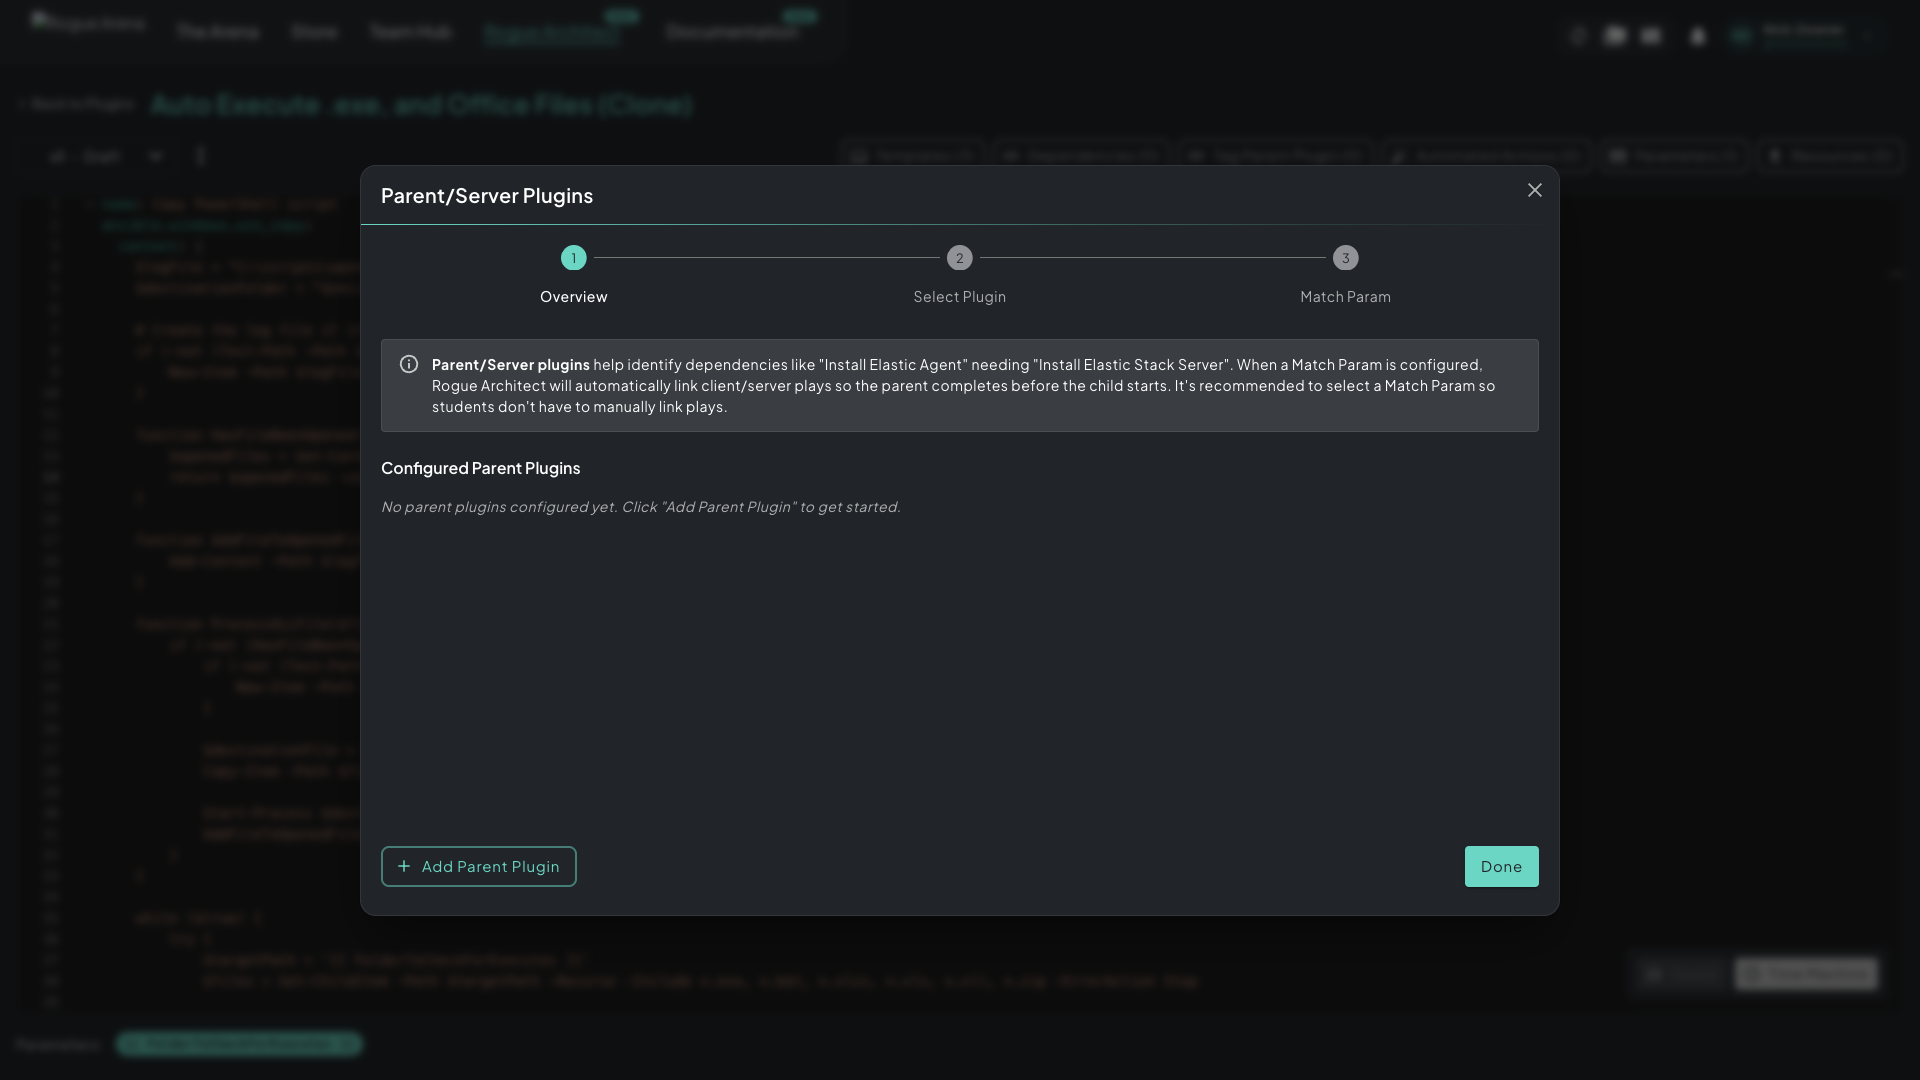 Tag Parent Plugin is a three-step flow. You declare which plugin must complete first and, optionally, which parameter ties the two plays together.
The Match Param links the two plugins. Pick a param that the parent and child share (often a hostname, FQDN, or IP), and Rogue Architect connects the client to the matching server in any scenario. Students don’t have to link plays by hand.
You can skip the Match Param if no shared parameter makes sense. The dependency still works, but the plays won’t auto-link on the canvas.
Automated Actions
Section titled “Automated Actions”Click Automated Actions to declare side effects that happen on the canvas when this plugin is added or applied, such as raising the host machine’s RAM, setting a VLAN’s nickname from a domain FQDN, or adding DNS forwarding targets.
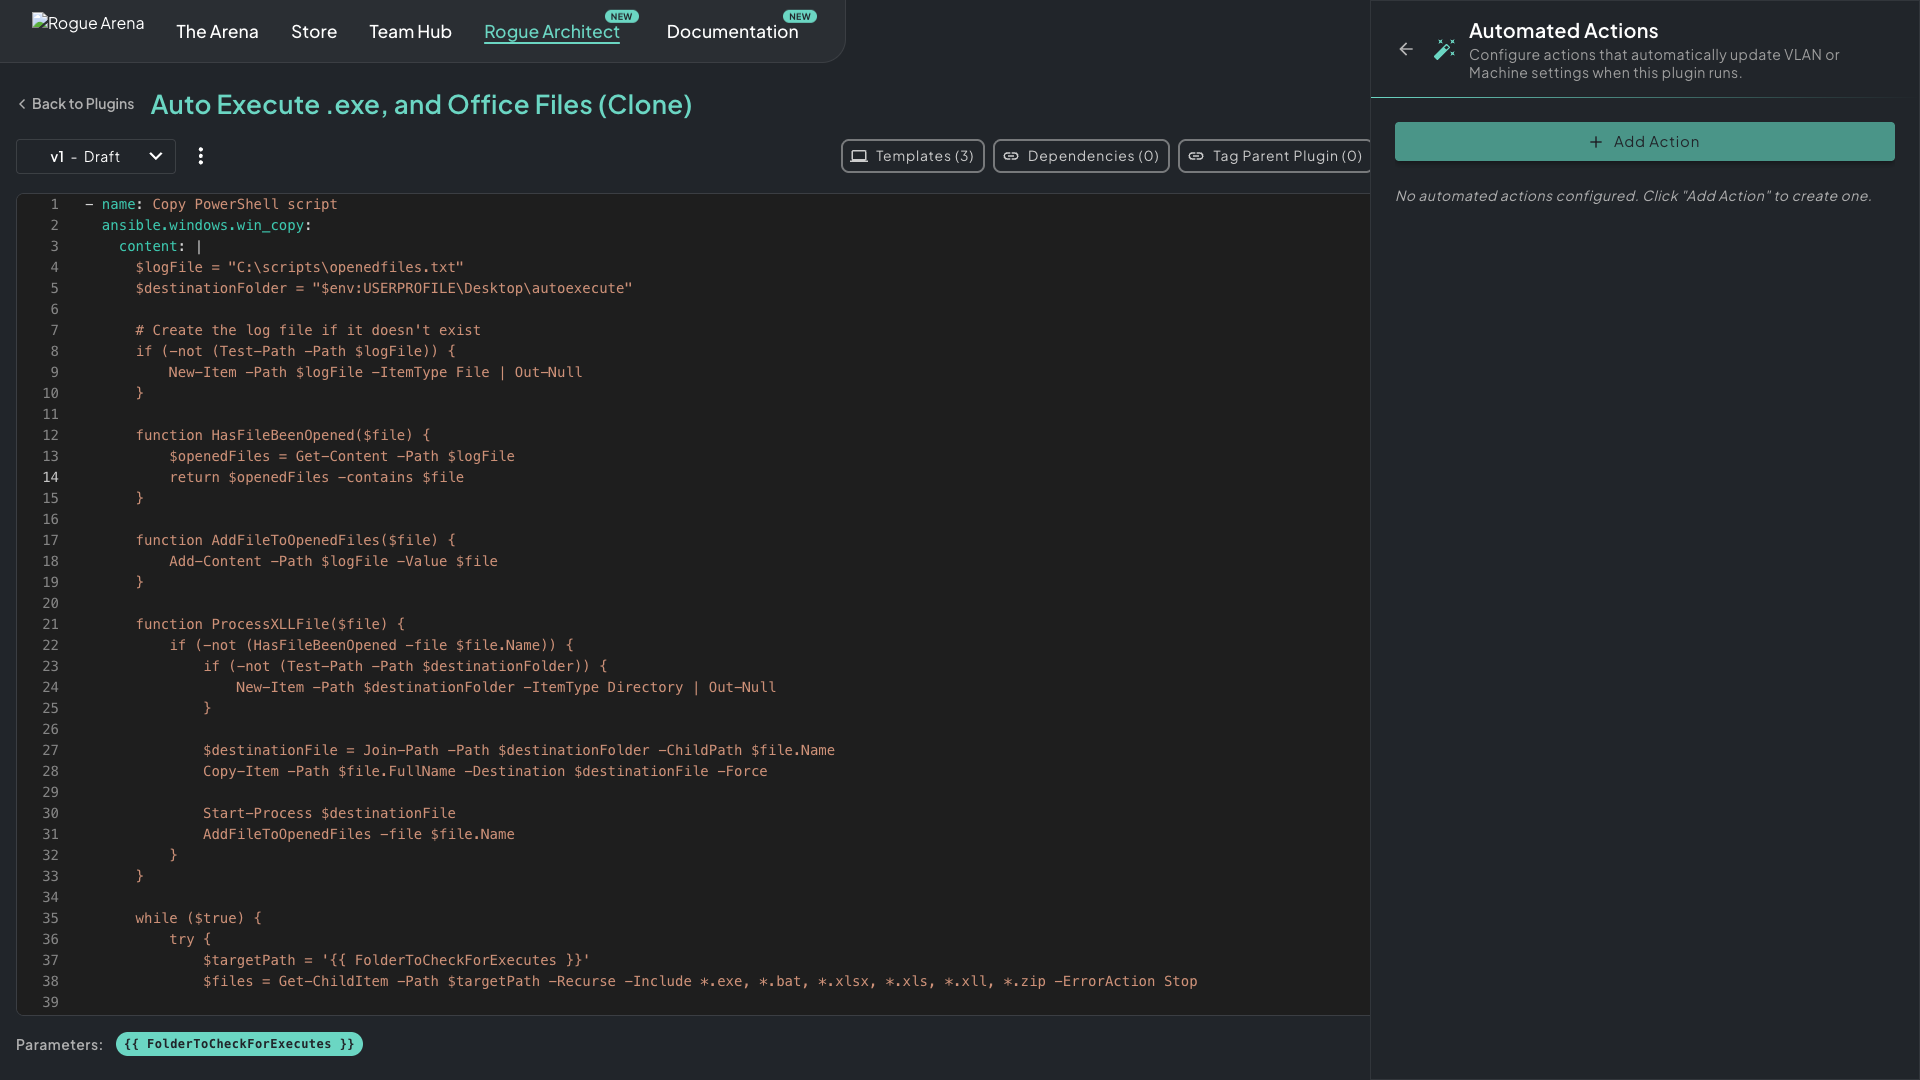 The Automated Actions drawer is empty by default. Click Add Action to open the stepper.
Click Add Action to open the two-step stepper:
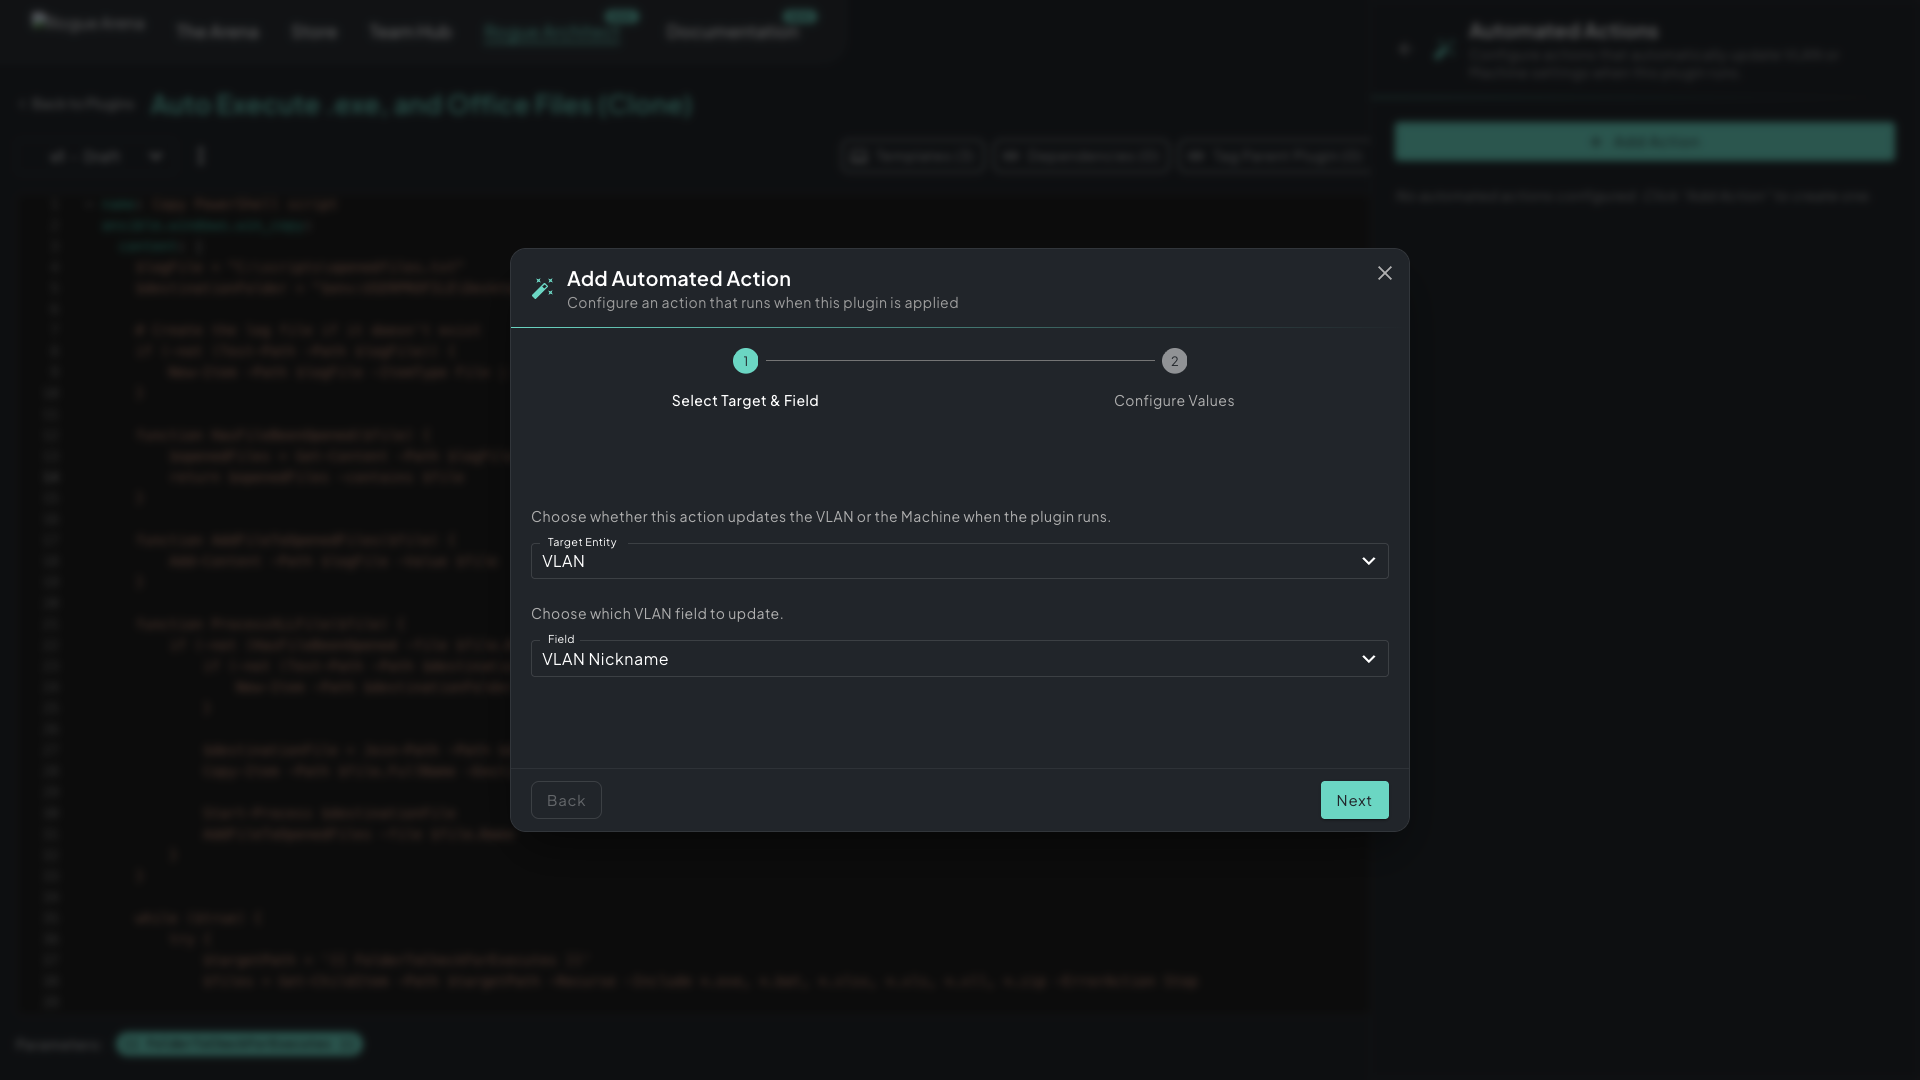 The Add Automated Action stepper. Pick the target entity (VLAN or Machine), choose the field to update, then map a value (a literal or a plugin param).
The two steps:
- Select Target & Field: choose VLAN or Machine, then the field on that entity to write, such as
Machine.ramGB,VLAN.nickname, orVLAN.staticHostMappings. - Configure Values: either a literal (
10GB of RAM) or a mapping from a param (${DomainNameFQDN}sets the VLAN’s nickname from a domain param).
Use this when a heavy plugin needs bigger boxes (Elastic, Splunk, and Kubernetes need more RAM and CPU), or when the plugin defines part of the network’s identity (a DC plugin naming the AD forest). Most plugins don’t need any automations.
Parameters
Section titled “Parameters”Click Parameters to define the typed inputs scenario builders fill in when they add your plugin to a machine.
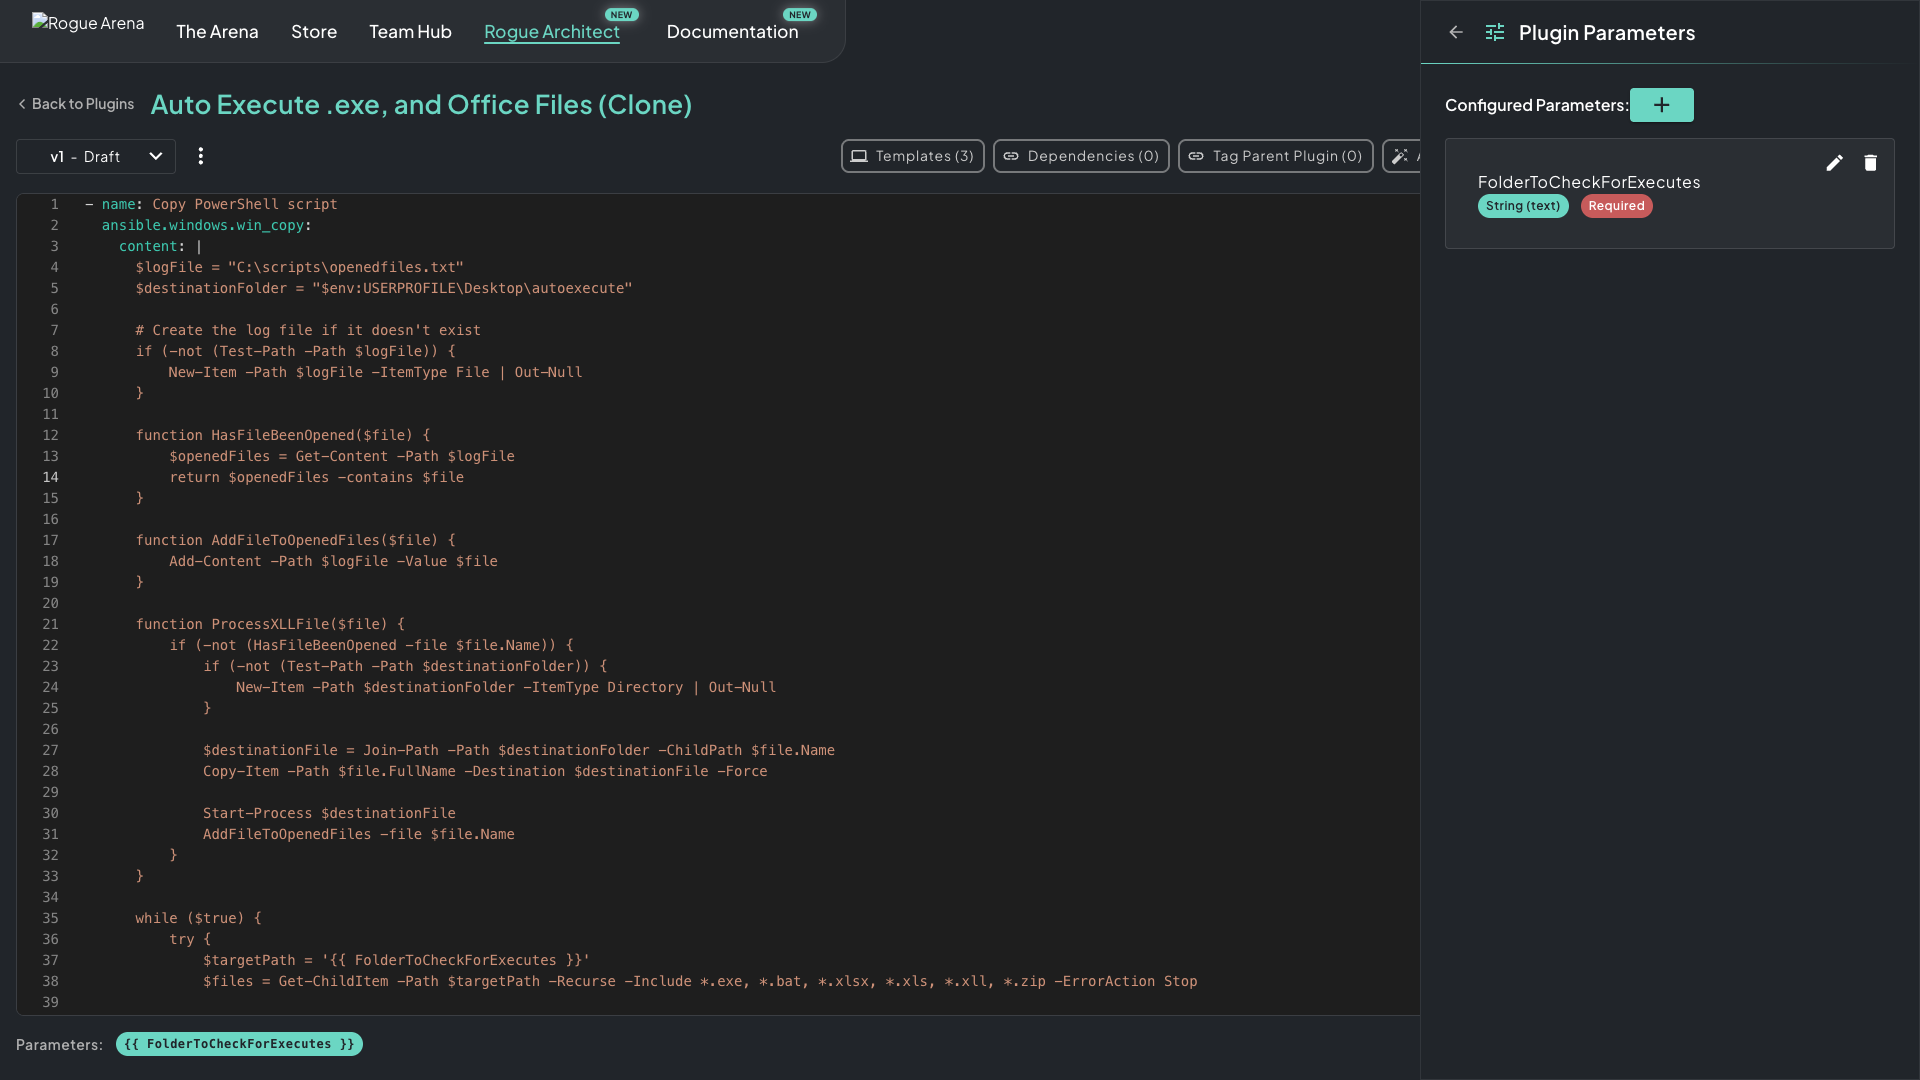 Plugin Parameters are typed inputs shown on the canvas. Add, edit, or reorder them, and mark each one Required or optional with a default.
Supported types:
- string: single-line text (hostname, username, license key).
- number: a numeric value (port, timeout, version).
- boolean: a true/false toggle.
- stringBlock: multi-line text (scripts, configs, file contents).
- csv: tabular data with defined column headers (user lists, IP mappings, OU paths).
- file: files the scenario builder uploads (wordlists, installers, configs, sample data). The type list shows it as File (uploaded files).
For a file parameter, you can list Accepted file extensions (optional). Type one or more extensions, such as .txt or .tar.gz, separated by commas or spaces, and click the add button. Each extension is a dot followed by up to 16 lowercase letters, digits, ., _, or -, and a parameter takes up to 32 of them. Leave the list empty to accept any file type.
Scenario builders upload any number of files to a file parameter on the canvas. At build time the files are copied into one folder on the machine, and the parameter’s variable holds that folder’s path: under /opt/rogue/params/ on Linux or C:\RogueParams\ on Windows. Point your YAML at that folder instead of at a vault filename.
Two rules of thumb:
- Match what’s in your YAML. Every
{{ my_param }}reference in the YAML should have a matching entry here. - For CSV params, embed a copy-paste example in the description. End users see the description in the platform UI when they fill in the canvas. A CSV block they can paste helps more than a vague “comma-separated values” hint.
To see how these appear on the canvas, read Configuring Plugin Parameters.
Addon Config Samples
Section titled “Addon Config Samples”Click Addon Config Samples to store ready-made config files with the plugin, such as a GHOSTS JSON timeline or a Caldera adversary profile. Click New sample, fill in Name, Notes, and Language (JSON, Python, YAML, PowerShell, Bash, C#, or plain text), write the code in the editor, then click Save. Drag samples to change their order. Other authors, and agents using the Rogue Arena MCP, can pull a sample and adapt it when they set up the plugin.
Resources
Section titled “Resources”Click Resources to upload files to the plugin’s vault: installers, scripts, archives, configs, Docker image tarballs, and anything else too big to put inline in the YAML.
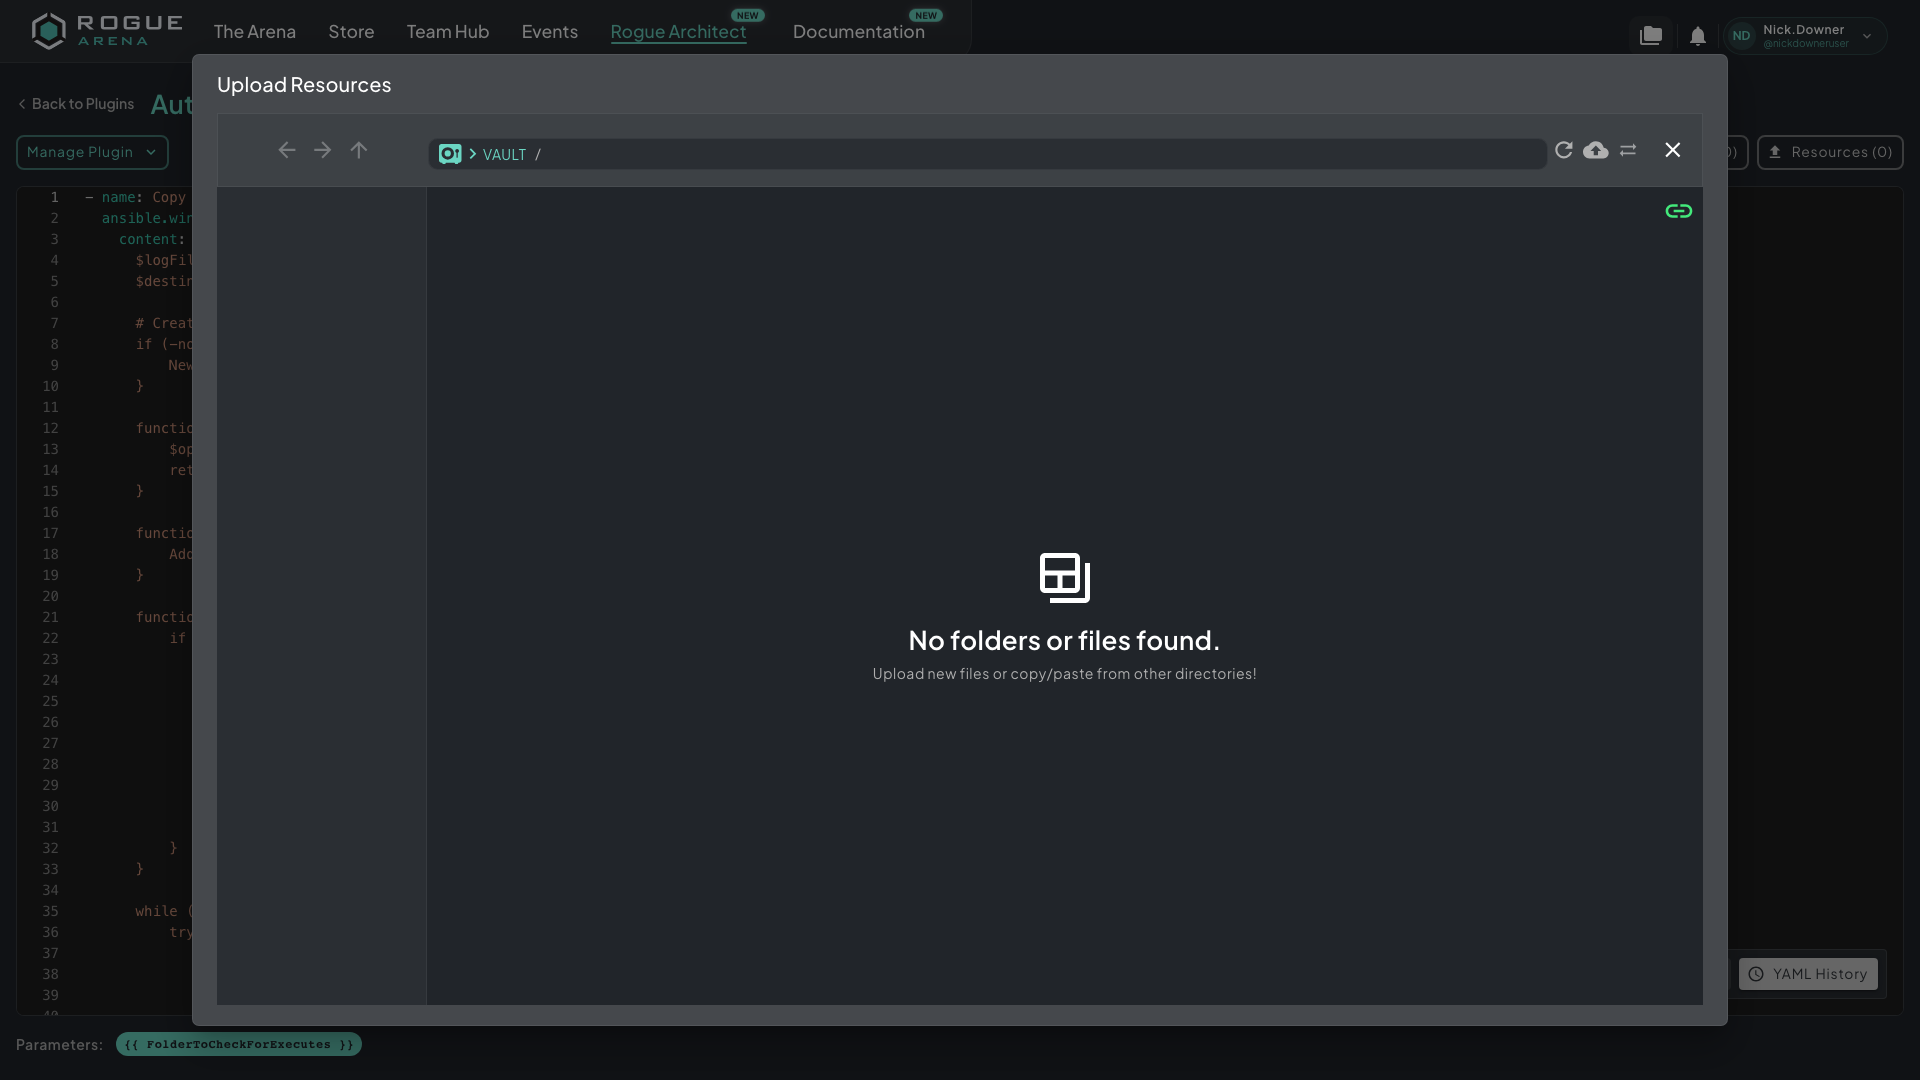 The Resources panel shows the plugin vault. Upload files here, then reference them from the YAML with
win_copy / copy and a src: that matches the vault filename.
The YAML references vault files by filename in win_copy / copy:
- name: Stage VLC installer from plugin vault ansible.windows.win_copy: src: vlc-3.0.20-win64.exe dest: "C:\\PluginSetup\\vlc-3.0.20-win64.exe"The src: value matches the vault filename, and the platform resolves the vault path for you.