

Phase 5: Publish
Publishing takes two steps: write a changelog for the version, then set its visibility.
Step 1: Write a Changelog
Section titled “Step 1: Write a Changelog”Click Changelog in the top-right control panel and describe what changed in this version. The changelog tells students what’s new and shows co-builders what you modified. It also leaves you a record to look back on.
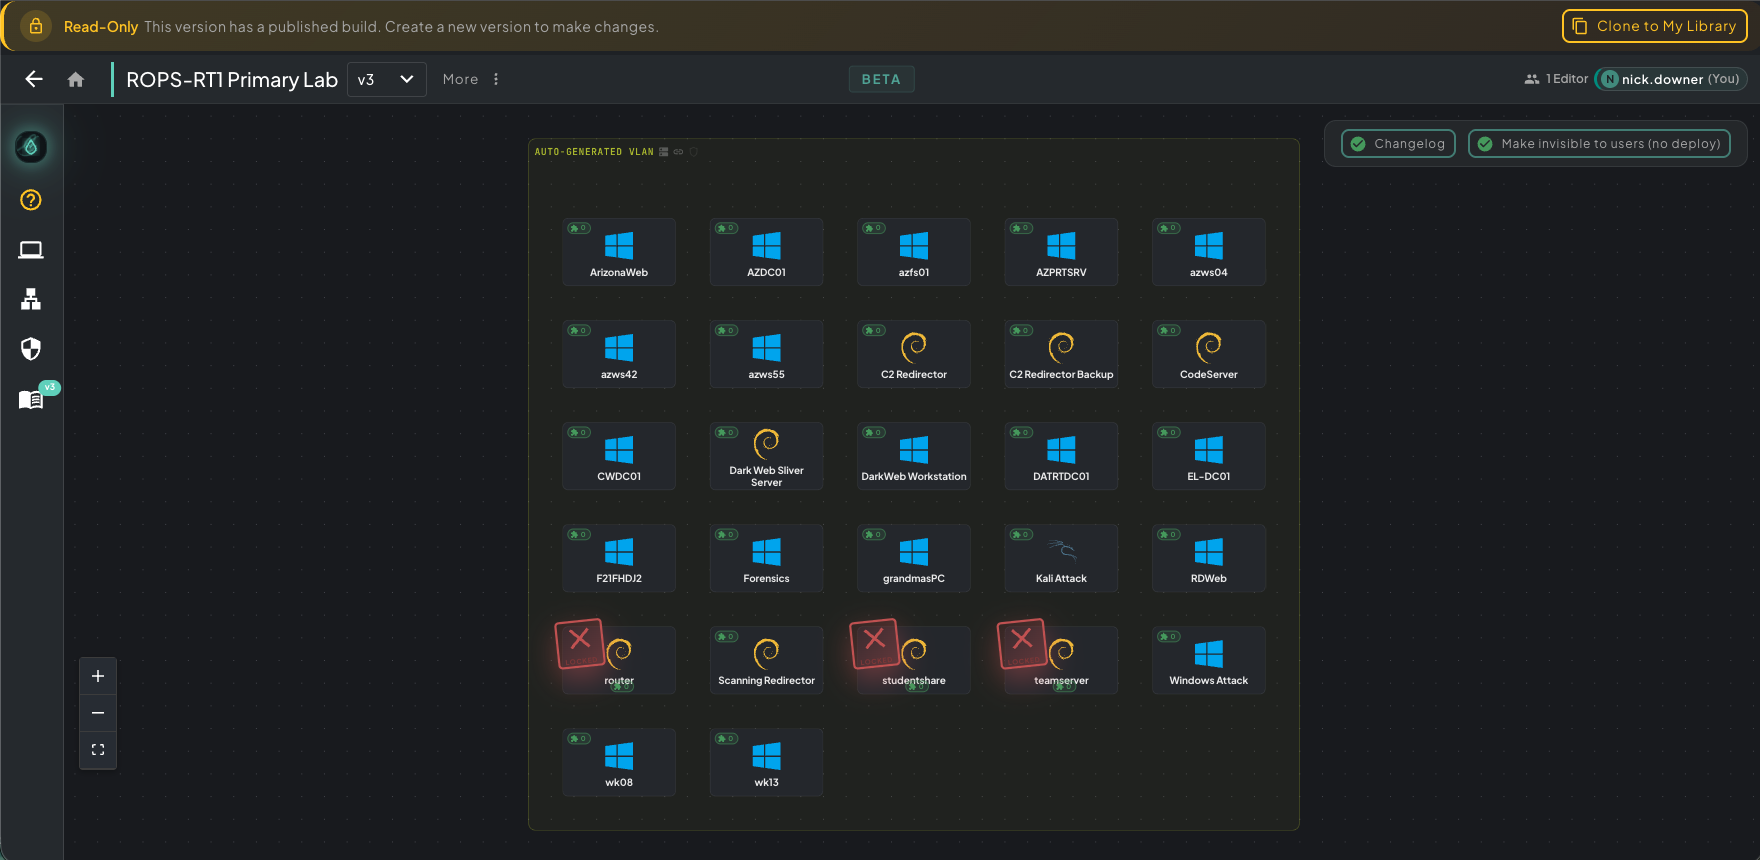 The published build view. The read-only banner at the top shows that this version is locked, and the Changelog and Make invisible to users (no deploy) controls are in the top-right.
Each canvas version gets its own changelog entry, so over time you build up a history of the scenario.
Step 2: Set Visibility
Section titled “Step 2: Set Visibility”Click the visibility button in the top-right (Make visible to users for deploy or Make invisible to users (no deploy)). In the Build Visibility modal, click Make Build Public or Make Build Private.
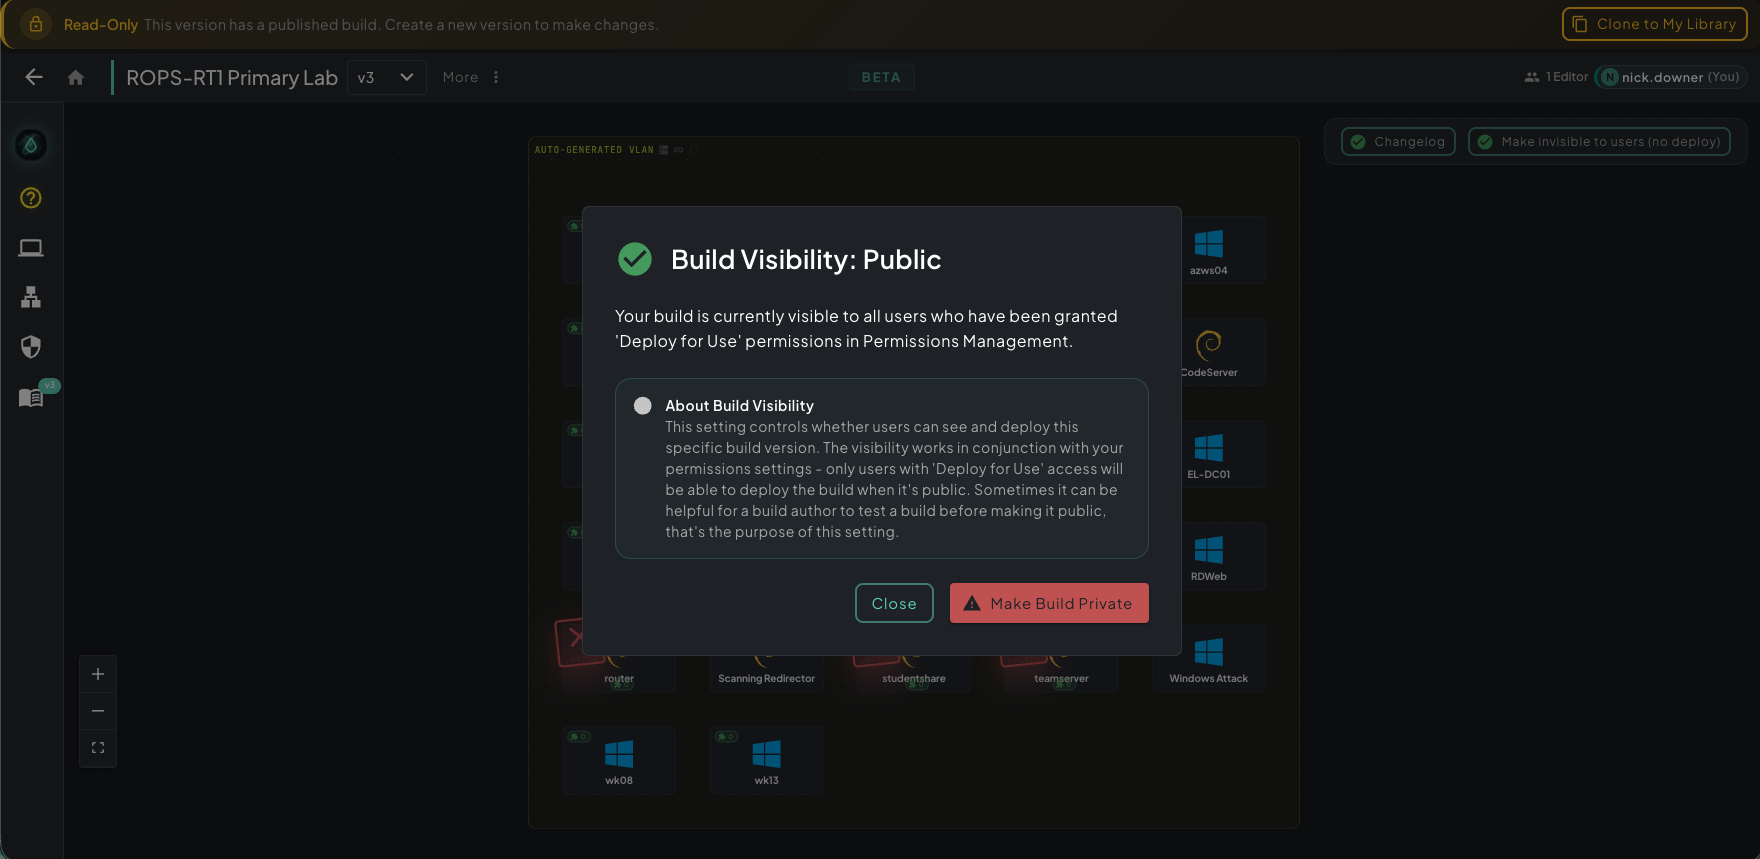 The Build Visibility modal. Read the explanation in the modal before you switch between public and private.
- Public: anyone with the Deploy for Use permission can find and deploy this scenario, the same as any other standard scenario in the catalog.
- Private (not public): only you, administrators, and people you shared it with directly can see it. This is useful for a final check. Deploy your own build, confirm it behaves like a normal scenario from a student’s point of view, then make it public when you’re satisfied.
You can change visibility at any time. Making a public scenario private removes it from the catalog without losing the build.
Adding Machines to a Published Version
Section titled “Adding Machines to a Published Version”A published version is locked, but you can still add plain machines to it and push them out to the deployments that use it.
- Open the published version and drag a machine from the Machines sidebar into an existing VLAN. The new machine gets an amber Draft badge until it’s synced.
- Set its base image and settings. You can edit or delete a Draft machine until you sync it.
- Click Sync N machines at the top right, next to Changelog. The Sync new machines window lists the machines to add and how many deployments are Running, Turned off, or Busy.
- Click Sync N machines in the window to start.
Each new machine must be a plain user machine with a base image, on an existing VLAN, with no plugins, seeded files, or assigned users. If one breaks these rules, the window says so; edit or delete it, then try again.
Running deployments get the new machines right away, and turned-off deployments get them the next time they power on. Event deployments get them too. The sync waits while any deployment is starting up, shutting down, or locked. New deployments include the machines automatically. Syncing builds the new machines on lab hardware, so like Launch Build it needs lab time.
Trusted Builder
Section titled “Trusted Builder”To publish scenarios to the broader Rogue Arena community (beyond your own team), you need the Trusted Builder endorsement. Apply on the Trusted Builder application page. You don’t need prior experience, and a Rogue Labs staff member reviews each application.