

Permissions and Cloning
Besides the changelog and visibility settings, the More menu in the scenario header has four collaboration tools: edit scenario info, clone, manage sharing, and share to social media. Staff and your organization’s Rogue Architect admins also see Transfer Ownership, which makes another user the scenario’s owner.
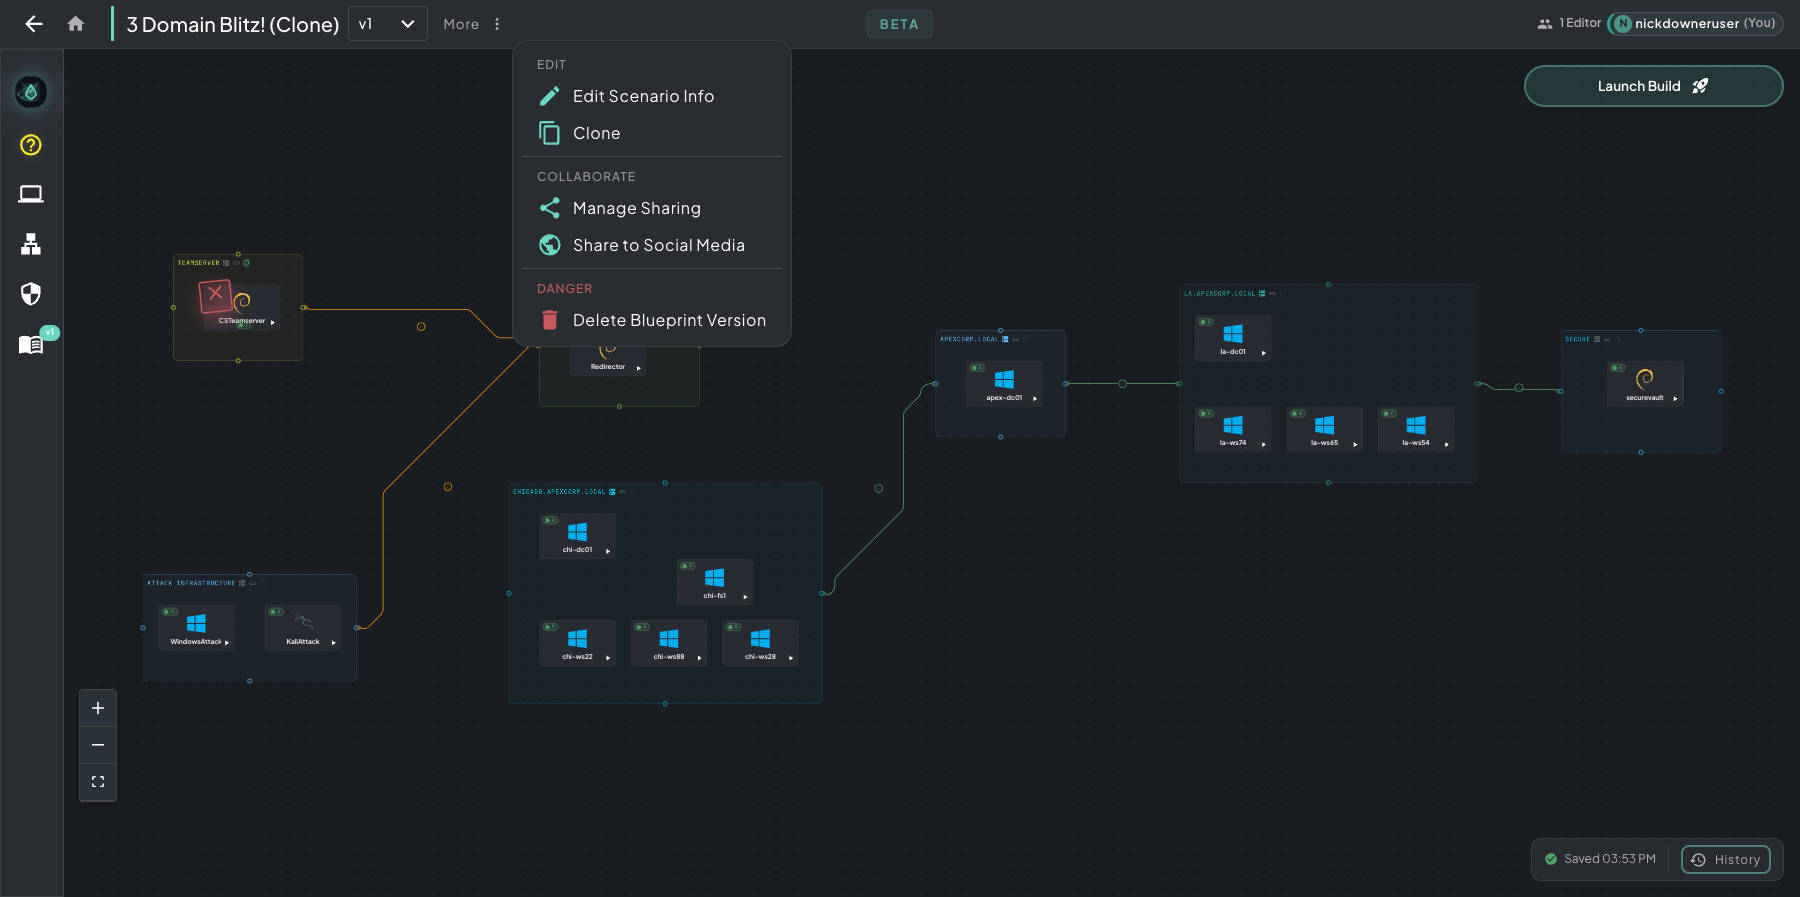 Click More in the scenario header to open the menu. Its actions are grouped under Edit, Collaborate, and Danger.
Manage Sharing
Section titled “Manage Sharing”More → Manage Sharing opens the environment-wide permissions panel. Here you give other users edit, clone, or deploy rights on your scenario.
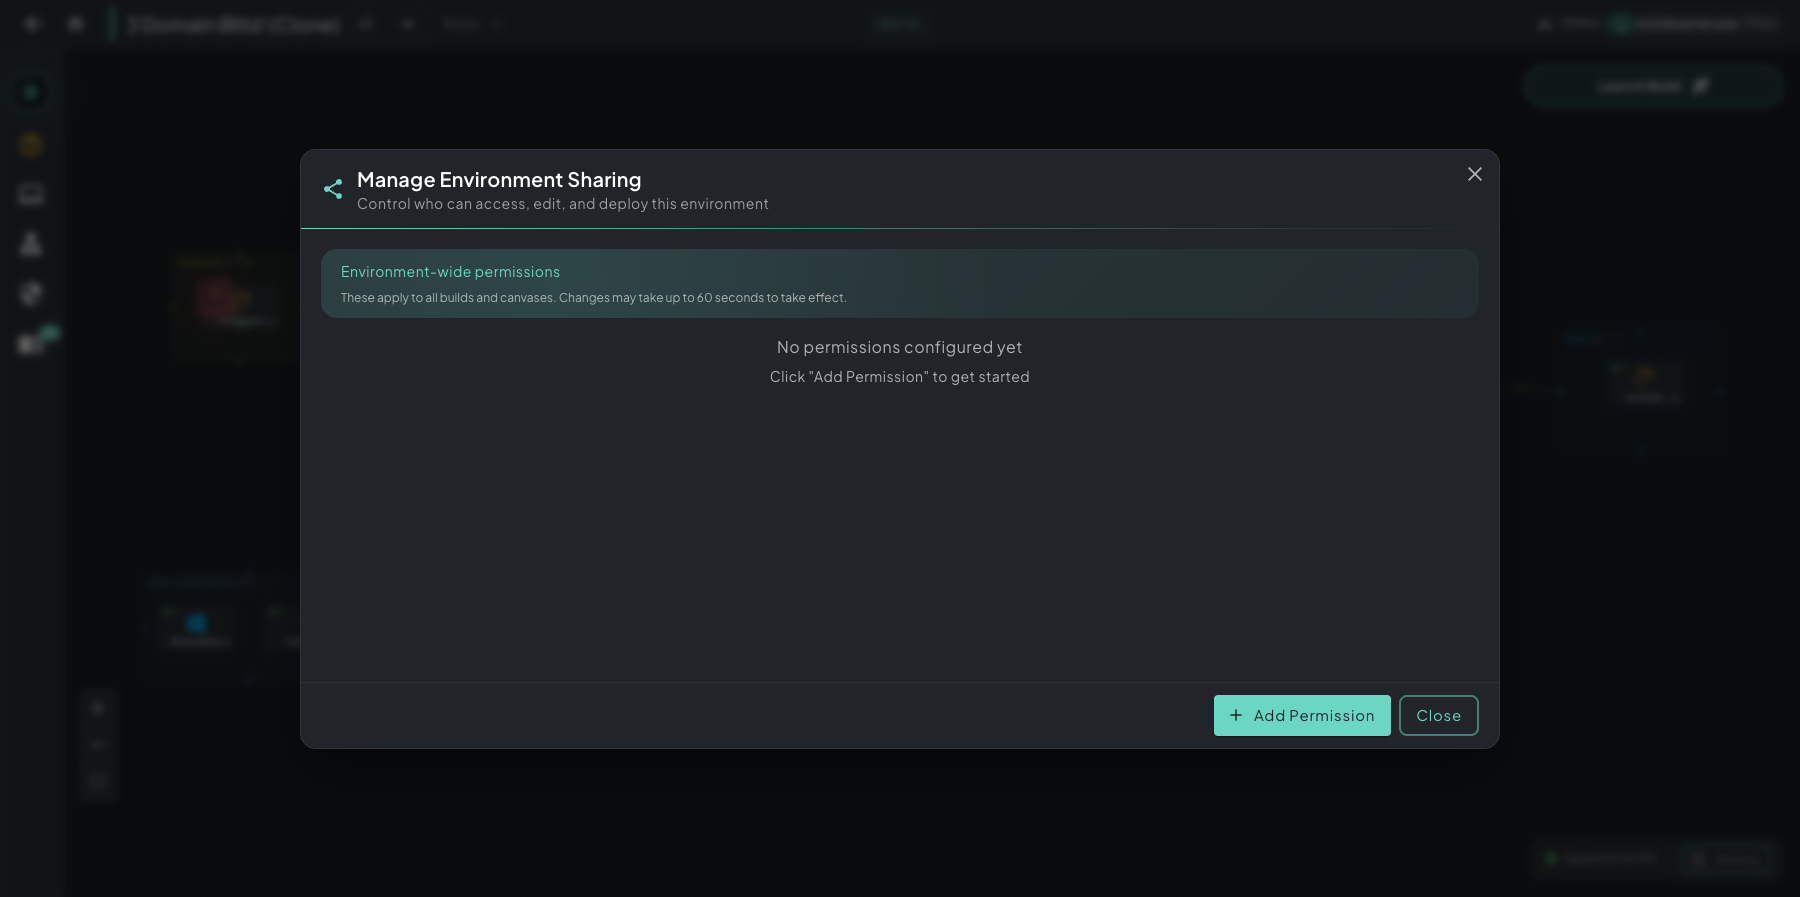 Manage Environment Sharing controls who can edit, clone, and deploy. Environment-wide permissions apply to all builds and canvases.
Permission targets
Section titled “Permission targets”When you click + Add Permission, you can grant access to any of these targets:
- User: a single Rogue Arena account. Unless you’re staff, you can pick only members of your own team.
- Team: your whole team (everyone with the team role)
- Distribution Group (DG): a smaller group, defined by an org admin, that can include people from different teams. Use a DG when a permission should apply to a chosen subset of users instead of the whole team, such as senior operators, instructors in training, or red-team leads.
- All users: everyone on Rogue Arena. Only Trusted Builders and staff can pick it. It grants Clone Variant; only staff can grant Deploy for Use to all users.
The Add Permission wizard
Section titled “The Add Permission wizard”Click + Add Permission to start a four-step flow:
- Select Permission Type: pick the target (User, Team, Distribution Group, or All users)
- Select Resource: choose the specific user, team, or DG. All users skips this step.
- Select Access Levels: turn on one or more of Edit & Build, Clone Variant, and Deploy for Use. Each level you pick is added as its own permission, and Edit & Build includes Clone Variant.
- Review: confirm and save
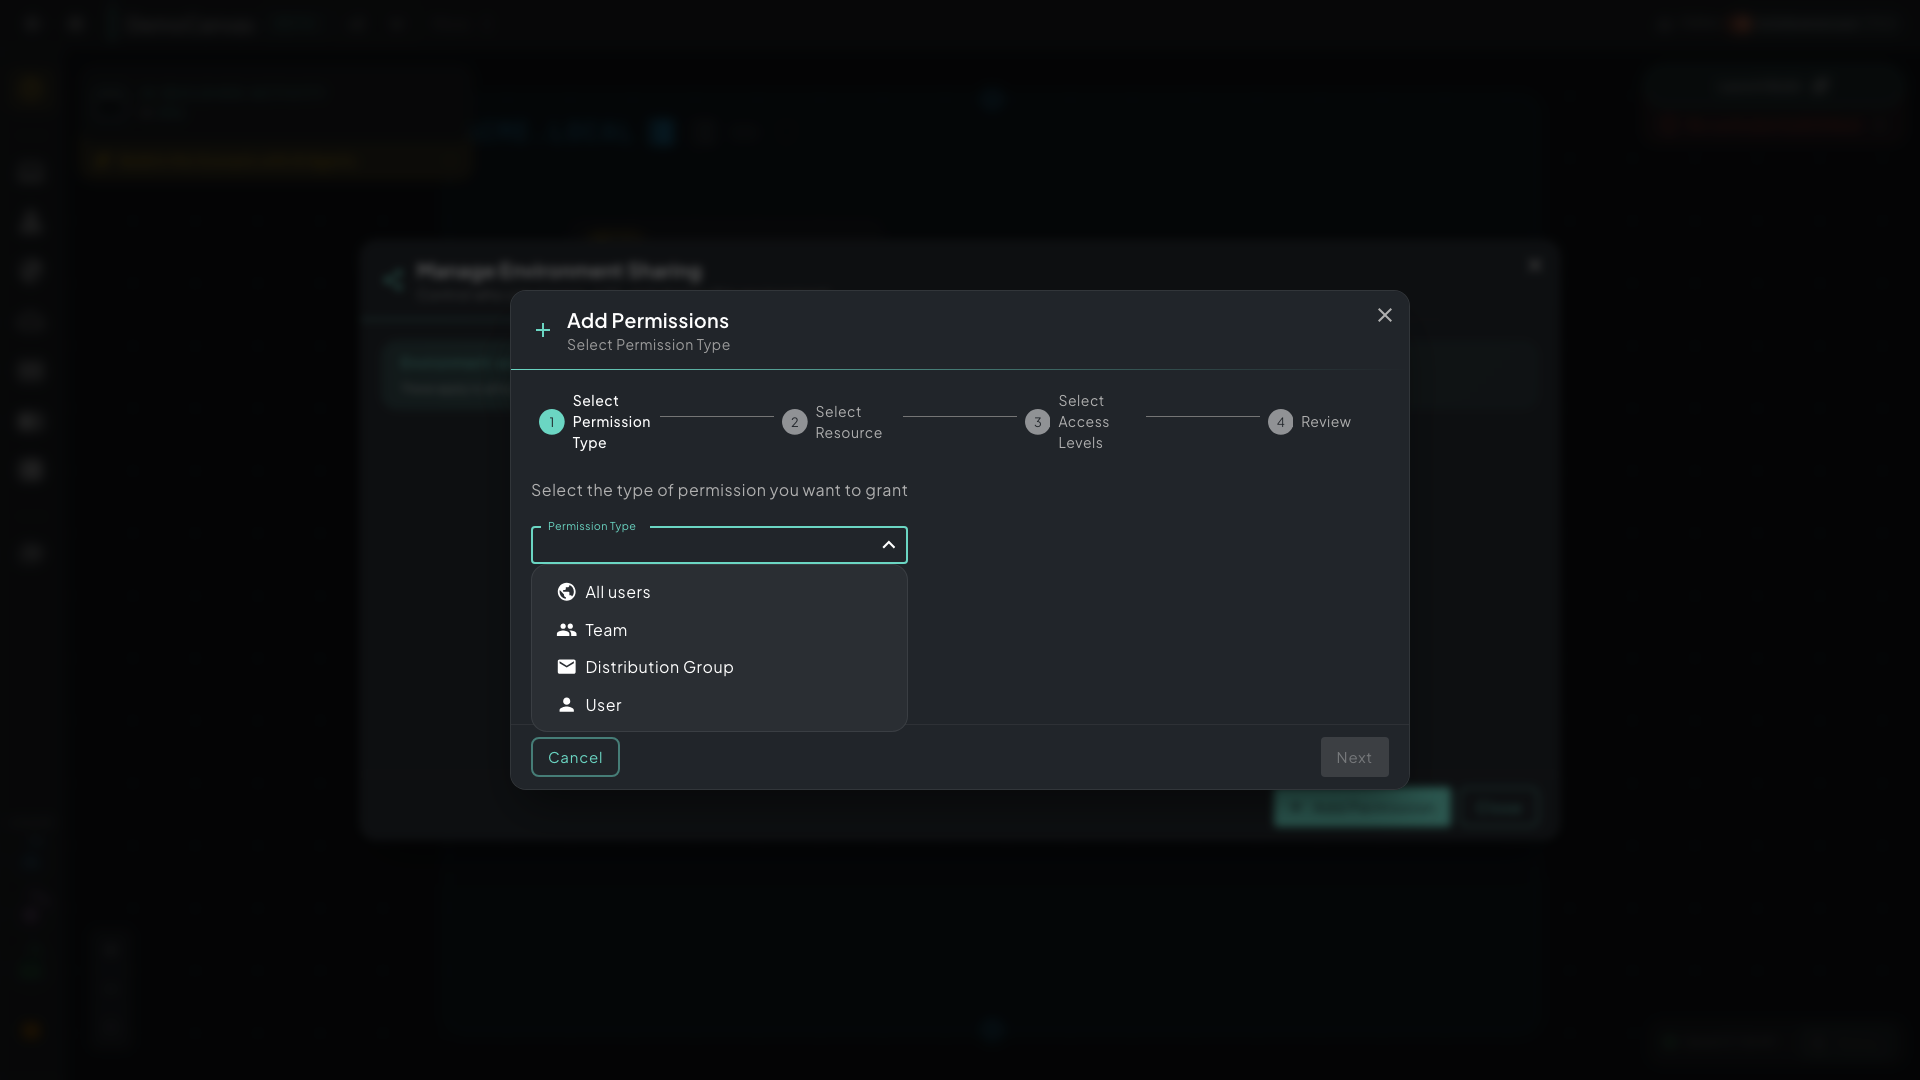 The Add Permission wizard takes you through four steps, from picking a target to reviewing and saving.
Changes can take up to about 60 seconds to take effect.
More → Clone gives you two ways to duplicate a scenario.
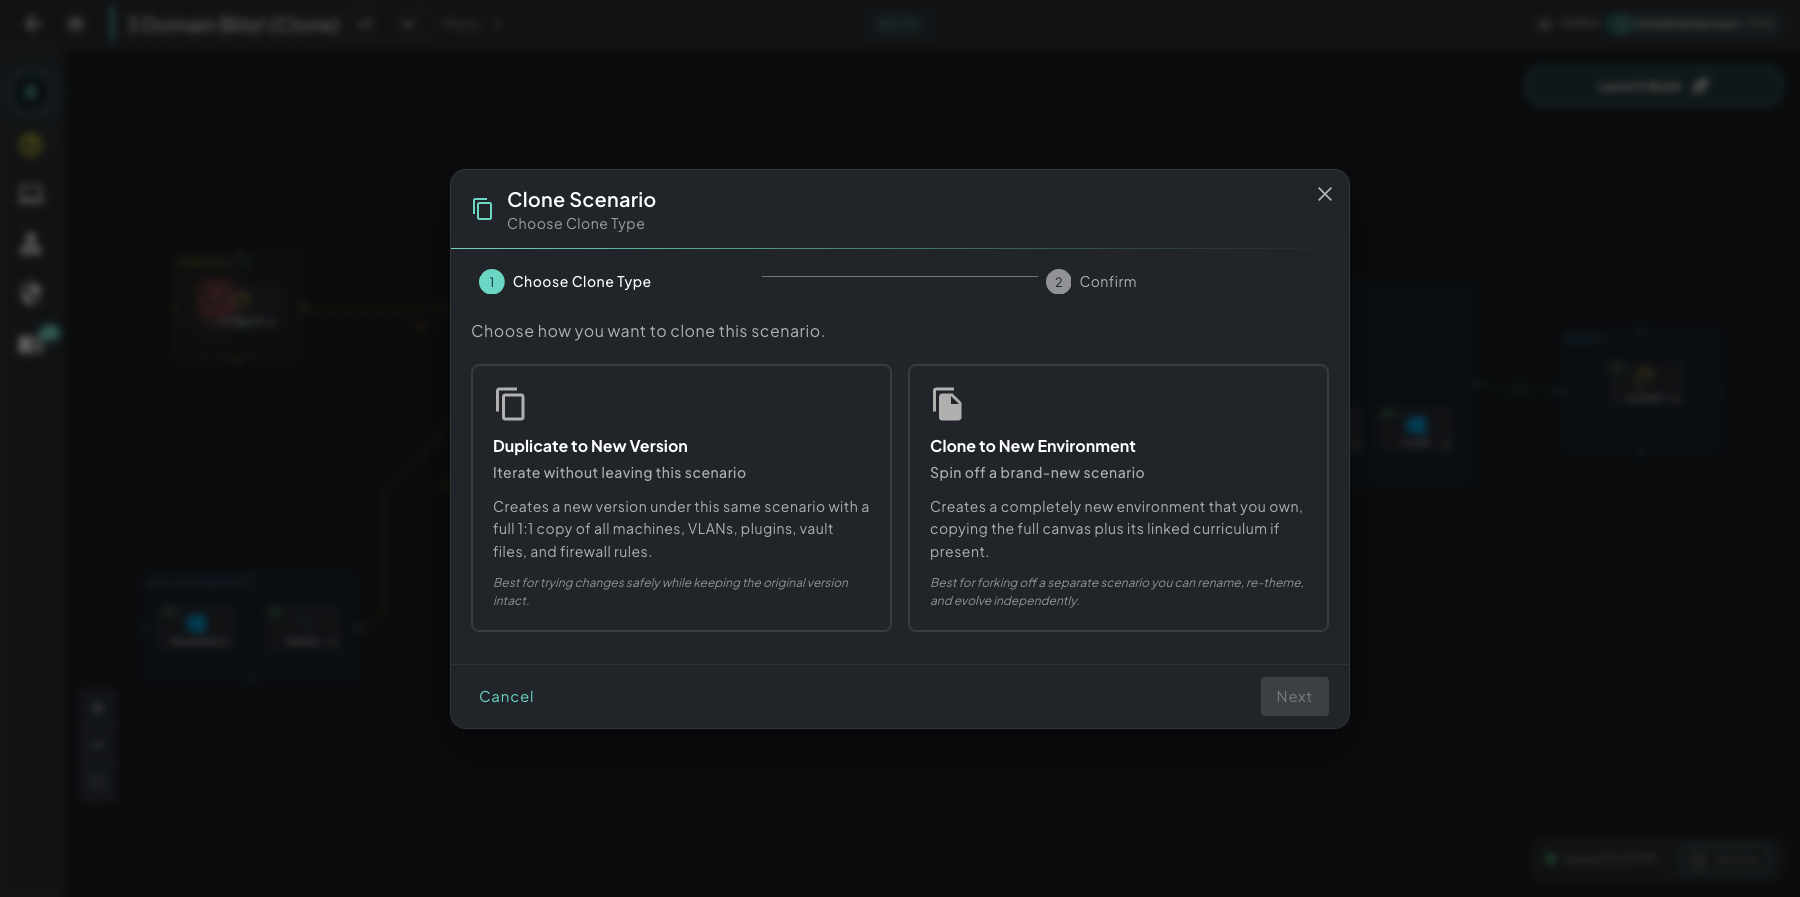 Clone Scenario. Choose the option that matches what you’re doing: iterating on this scenario or forking a new one.
- Duplicate to New Version: creates a new version under the same scenario, with a full 1:1 copy of every machine, VLAN, plugin, vault file, and firewall rule. Use it to try changes without disturbing the original version that students are already deploying.
- Clone to New Environment: creates a new scenario that you own. It copies the full canvas and the linked curriculum (if there is one) into a new environment that you can rename, re-theme, and develop on its own. Use it to start a sister scenario or to base a new course on an existing one.
Share to Social Media
Section titled “Share to Social Media”More → Share to Social Media opens Share to Architect, which shares a scenario publicly.
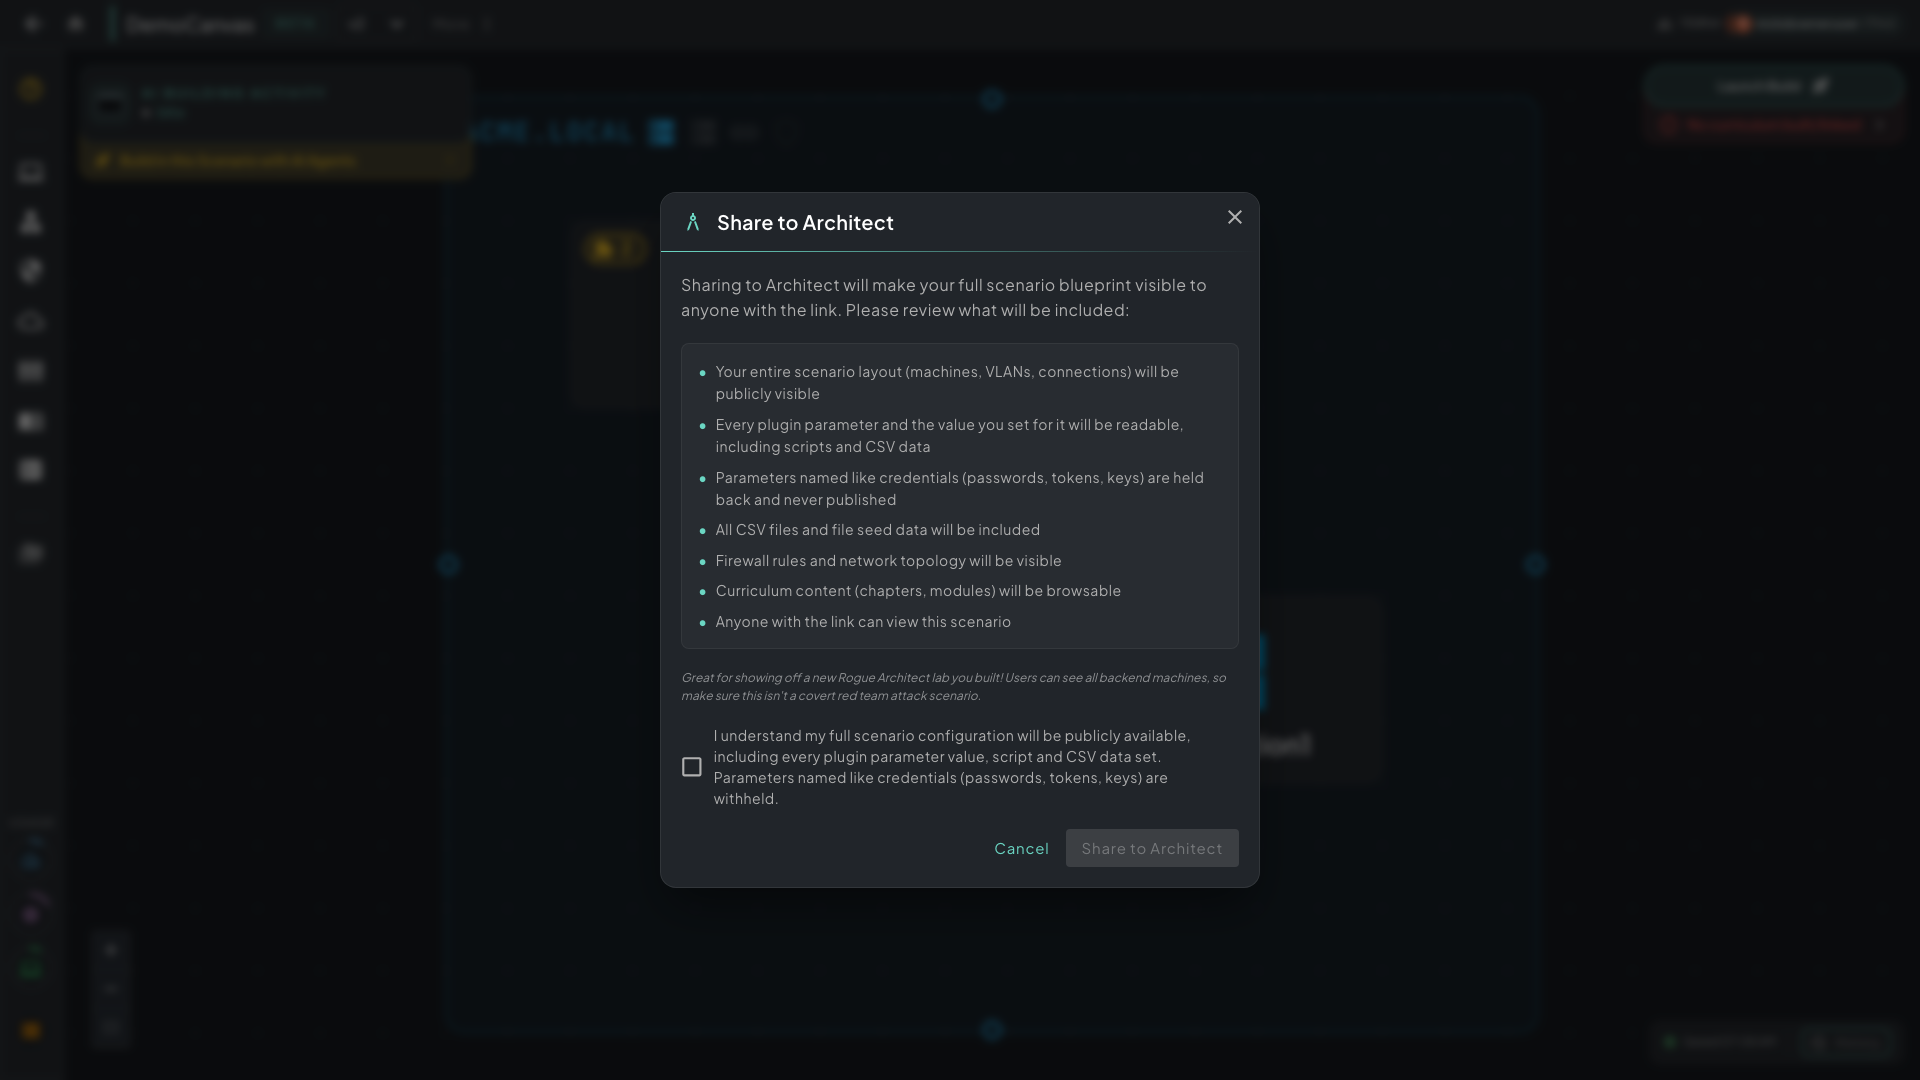 Review what the share includes before you publish it.
Share to Architect creates a view-only showcase of the full scenario blueprint. Anyone with the link can explore your machines, plugins, VLANs, firewall rules, and full network topology in the interactive Rogue Architect viewer, and can read the values you set for plugin parameters, including scripts and CSV data. Parameters named like credentials (passwords, tokens, keys) are held back. Use it to show off a new build. Caution: viewers see the backend infrastructure, so don’t use this for covert red-team scenarios.
Edit Scenario Info
Section titled “Edit Scenario Info”More → Edit Scenario Info opens the metadata editor, where you can change the scenario’s icon, name, date released, difficulty, environment type, Oracle help setting, and short and full descriptions. Use it when you re-theme or rebrand a scenario after a Clone to New Environment.